|
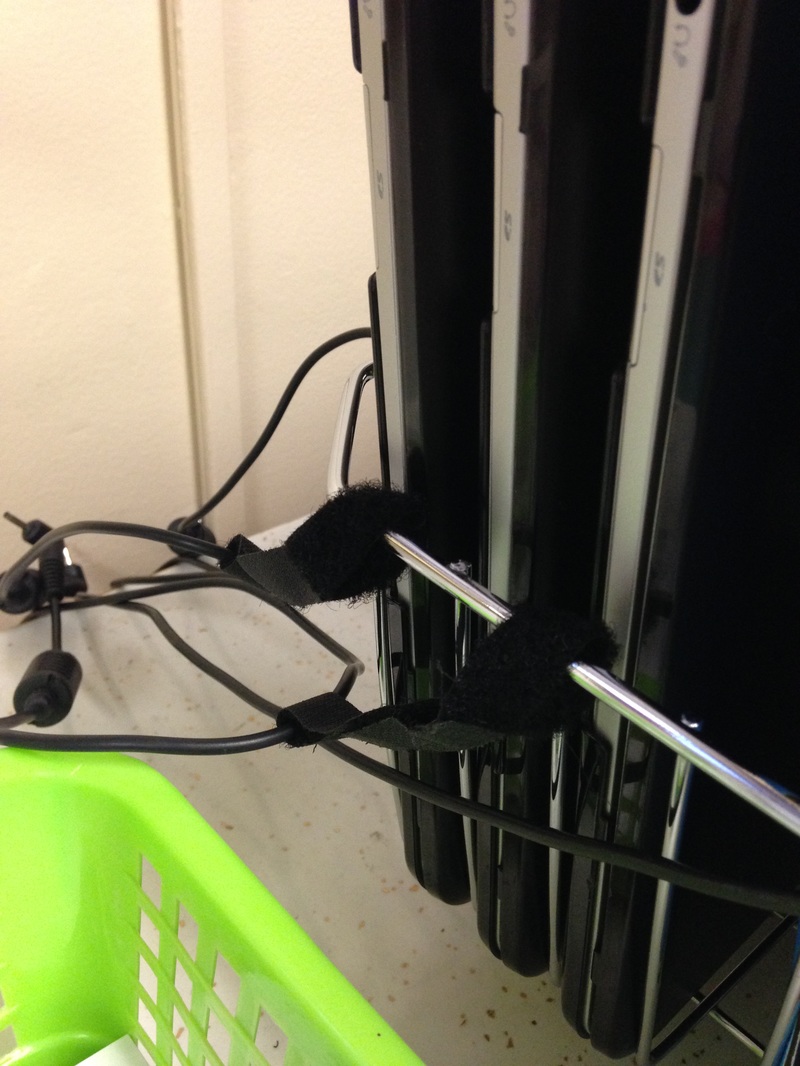
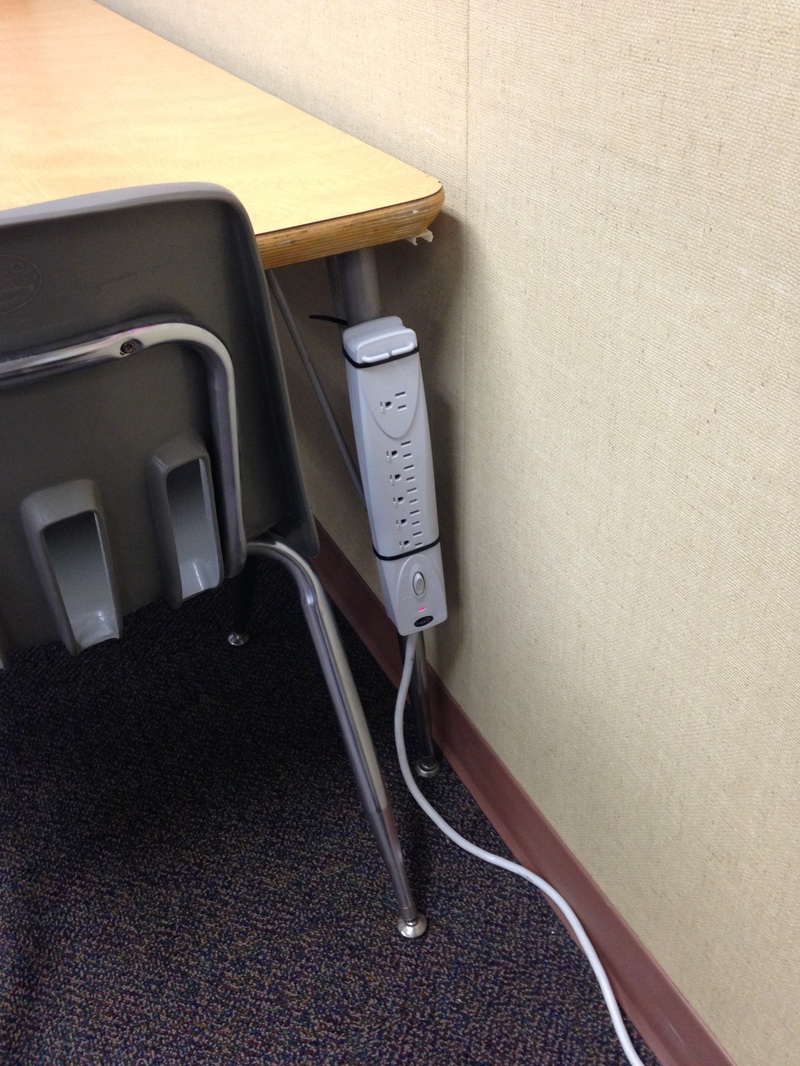
Recently I saw another teacher's picture/post on Instagram, I think, on the frustration of storing Chromebooks and their cords in a way that they won't become tangled mess. I too have been dealing with this frustration. Up until now I had a Chromebook table where they lived and were plugged into a power strip. 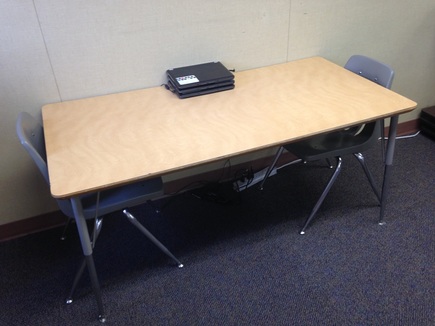 At the beginning of the year the power strip was on the floor and I had the cords running up against the wall and sitting on the top of the table which I thought would be fine. Boy was I wrong. Here was the problem with that idea. My 9th graders are 1:1 with Chromebooks and often show up with them not charged. Thus they would need to charge them to use them and would plug into the power strip with their own charging cords because they have different models than I do. The problem with that was that they would pull the strip out away from the wall to plug in their cords and not push it back against the wall or my charging cords would fall down from on top of the table and it was a struggle to get them back up alone. My next solution, which I unfortunately/surprisingly do not have a picture of, was to put the power strip on top of the table and then cover up the charging cords with a box. That kind of worked except for it took away a lot of table work space and often looked messy, especially after students had been sitting there using the Chromebooks. My new solution is... ...to place the student Chromebooks in my dish drying rack. I was, and still am, using it to store original copies of papers I make copies of a lot, bell schedules, etc. in file folders and my teacher Chromebook. I wasn't using the whole thing so I moved the files forward and added the student Chromebooks to the back three slots. They fit snug but not too tight! I then velcroed the charging cords to the drying rack so that when students unplug them to use them the cords don't accidentally fall behind the storage cabinets. In this area I already had a power strip plugged in so I plugged the charging cords into that (+ I still have one charging spot left over) and ran the cords along the back side where NO ONE CAN SEE THEM!! As for the former Chromebook table, I asked the janitor to zip-tie the power cord to the table leg so now it's easy to plug things in but also stays in place and the top is a clutter free work space! 
0 Comments
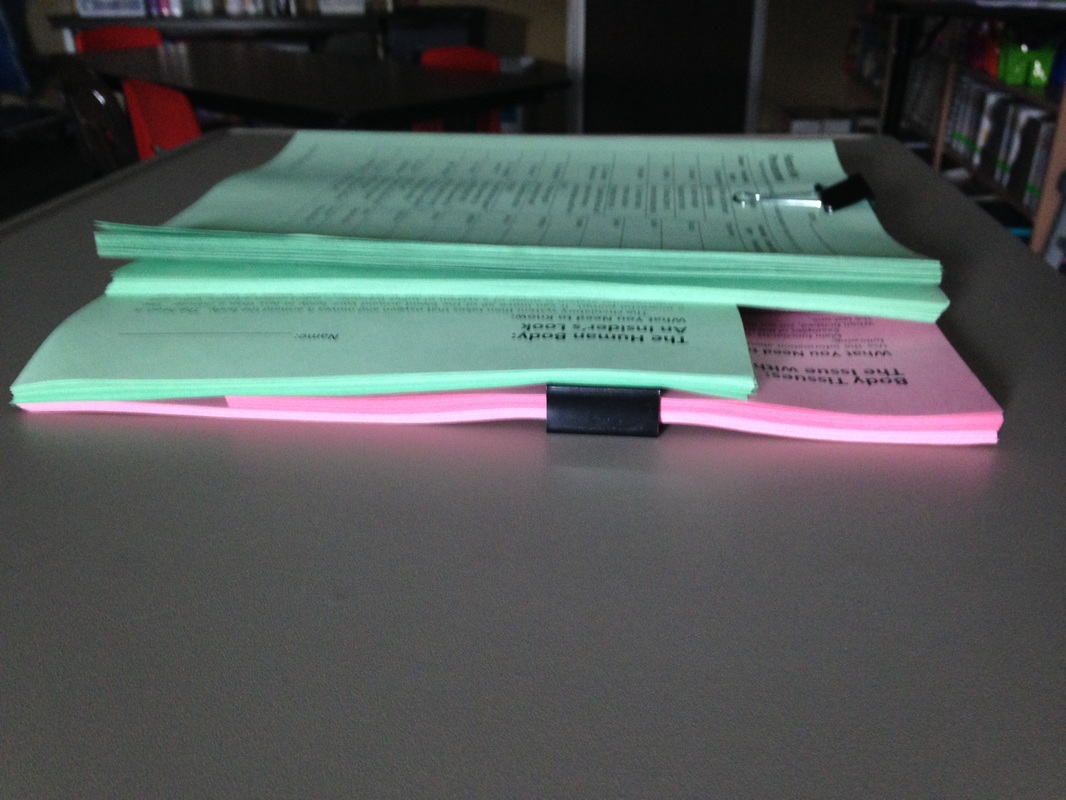
I don't know about you, but to me this question gets old fast. It was during my student teaching that I realized that I needed to create a better, less time-consuming, solution for how I manage getting make-up work for absent students/store extras of papers for students who inevitably lose them and need another one. My CT during student teaching kept her papers in a stack, where every other handout was the opposite direction, in the front of the classroom. Although this worked, I found four major flaws of the system:
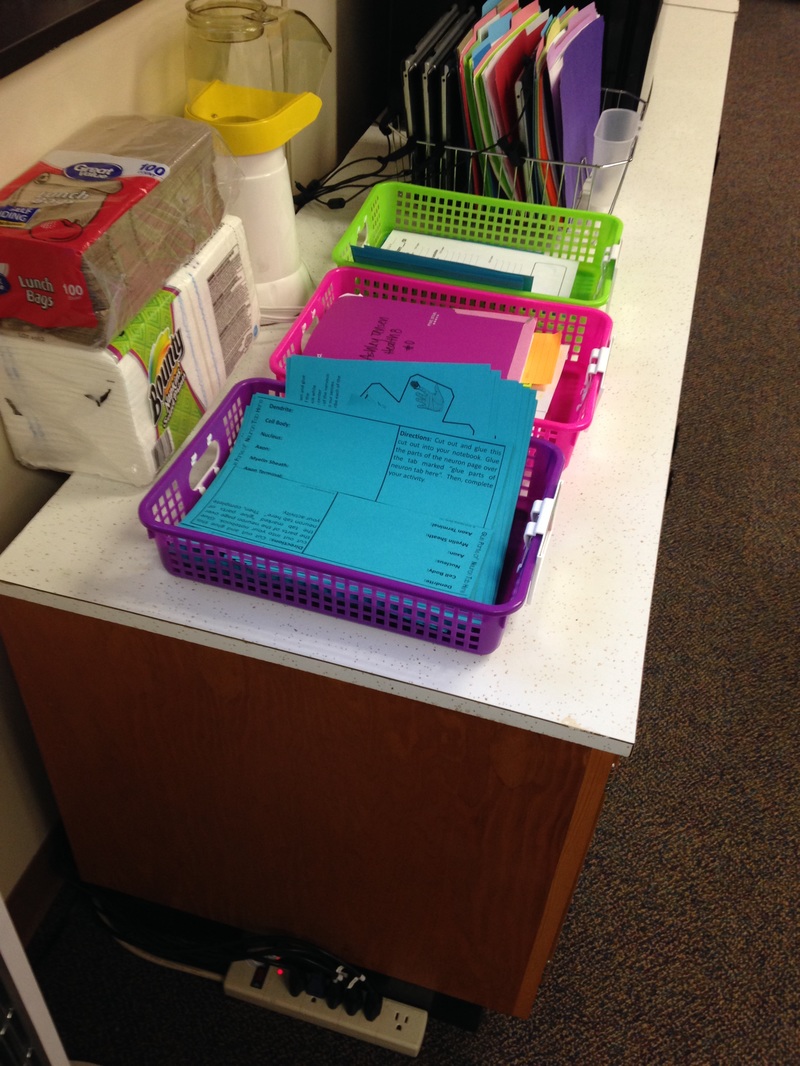
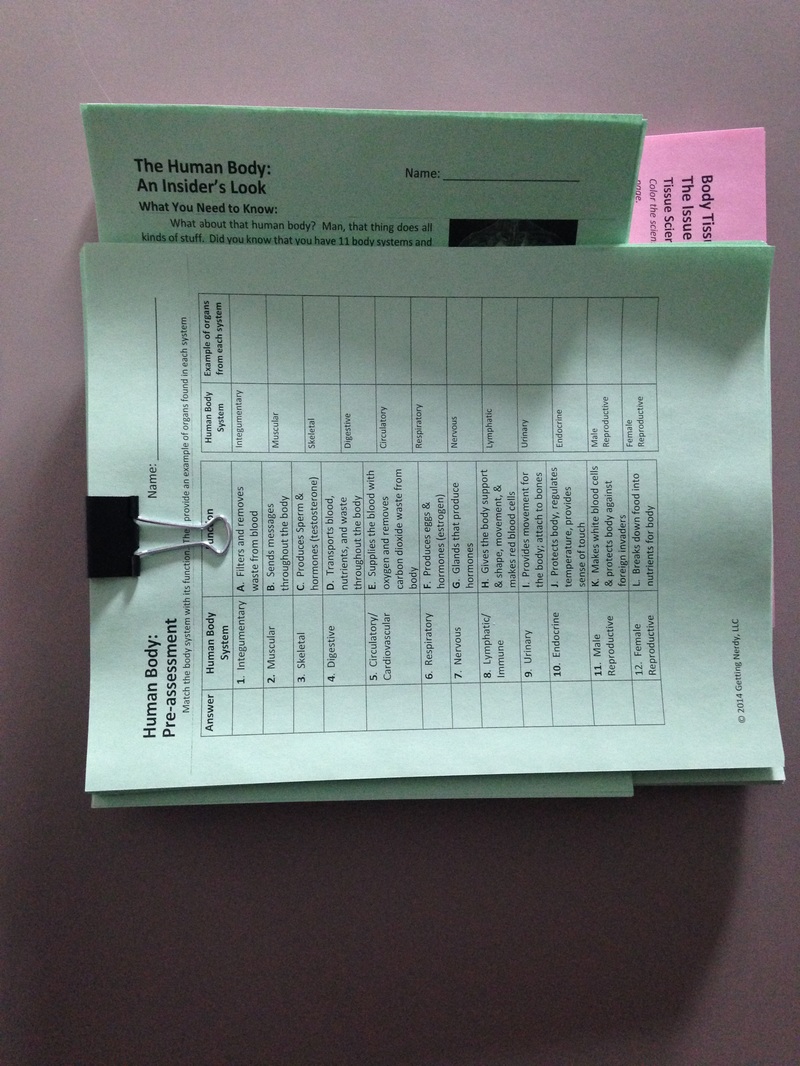
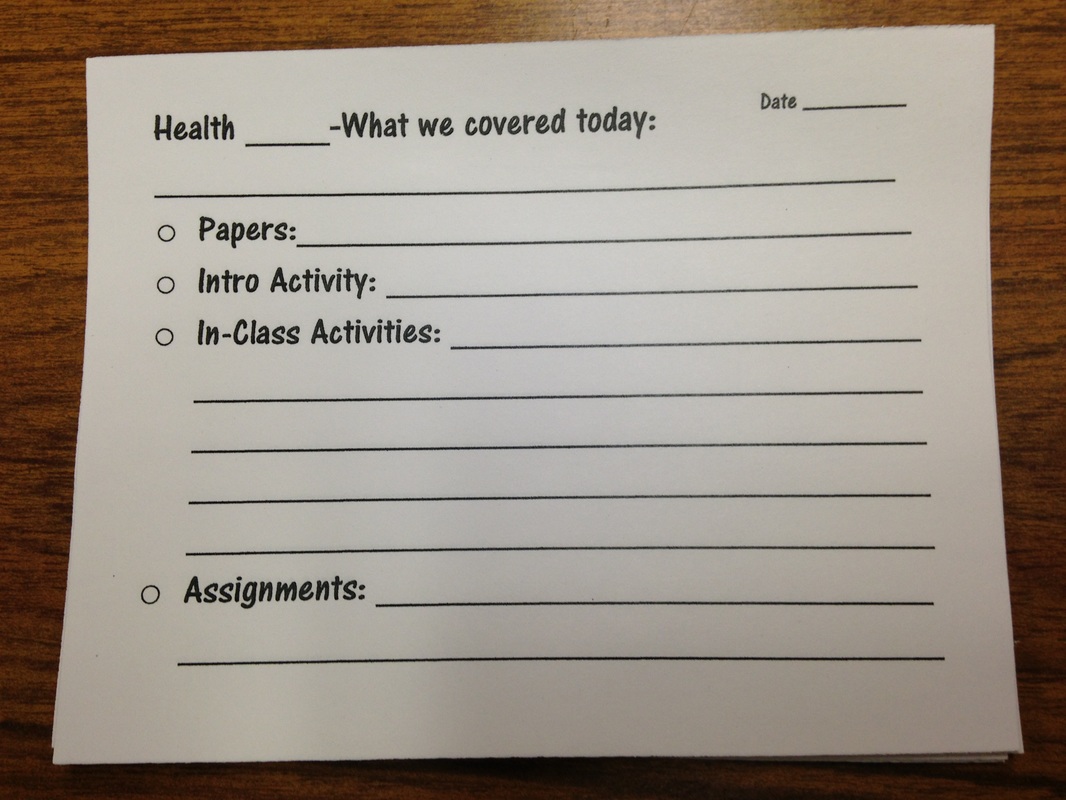
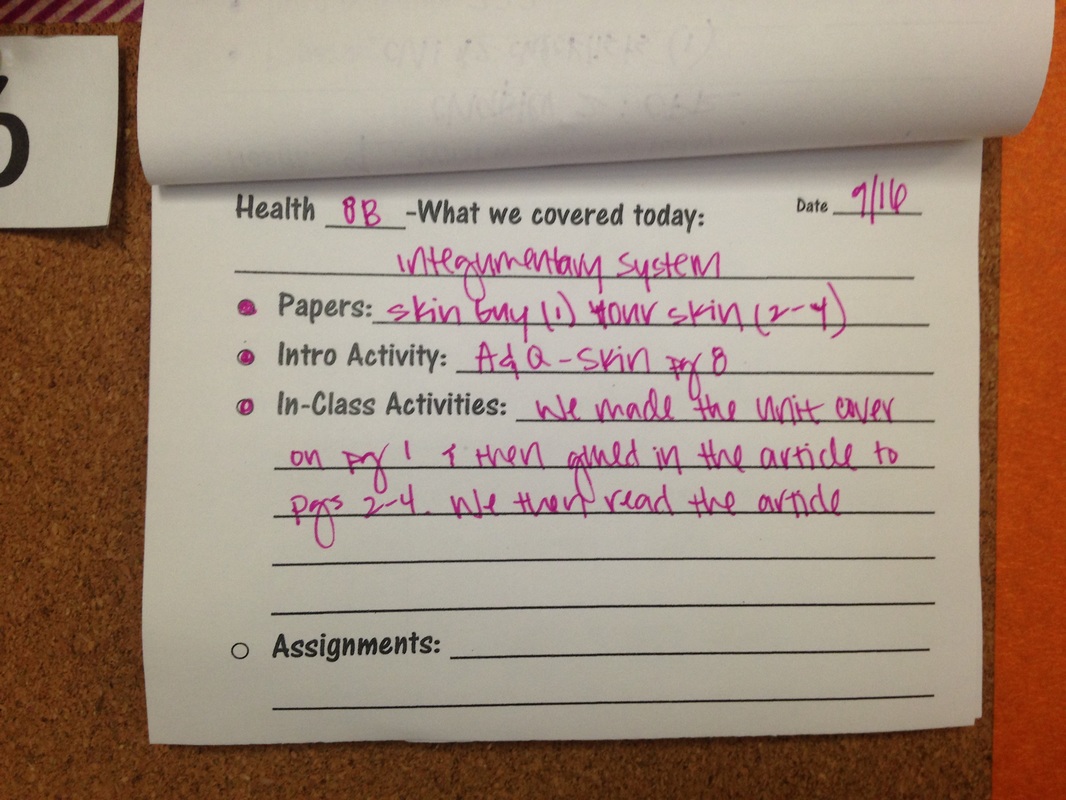
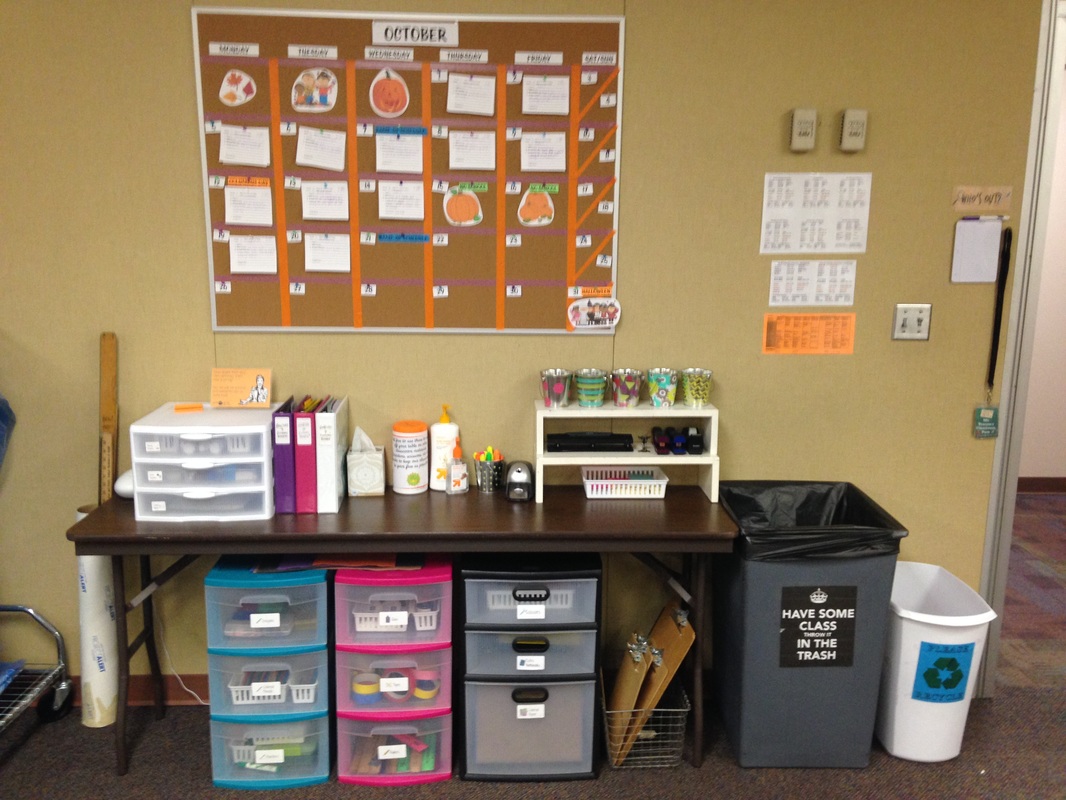
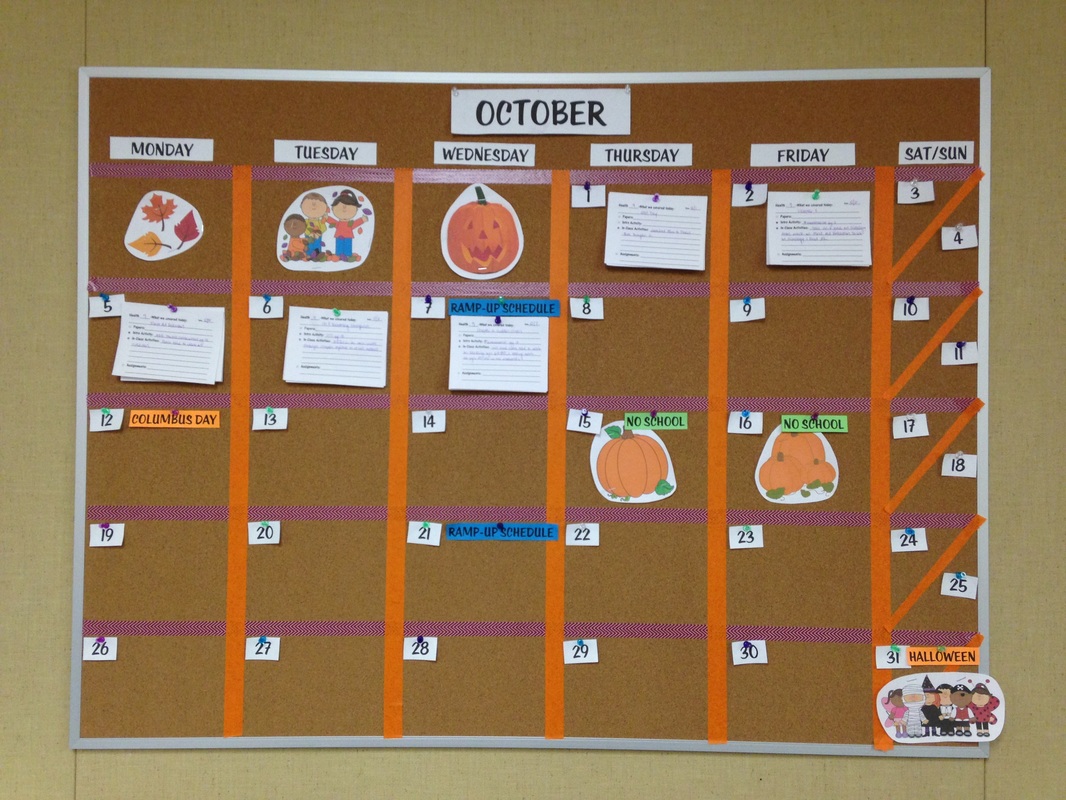
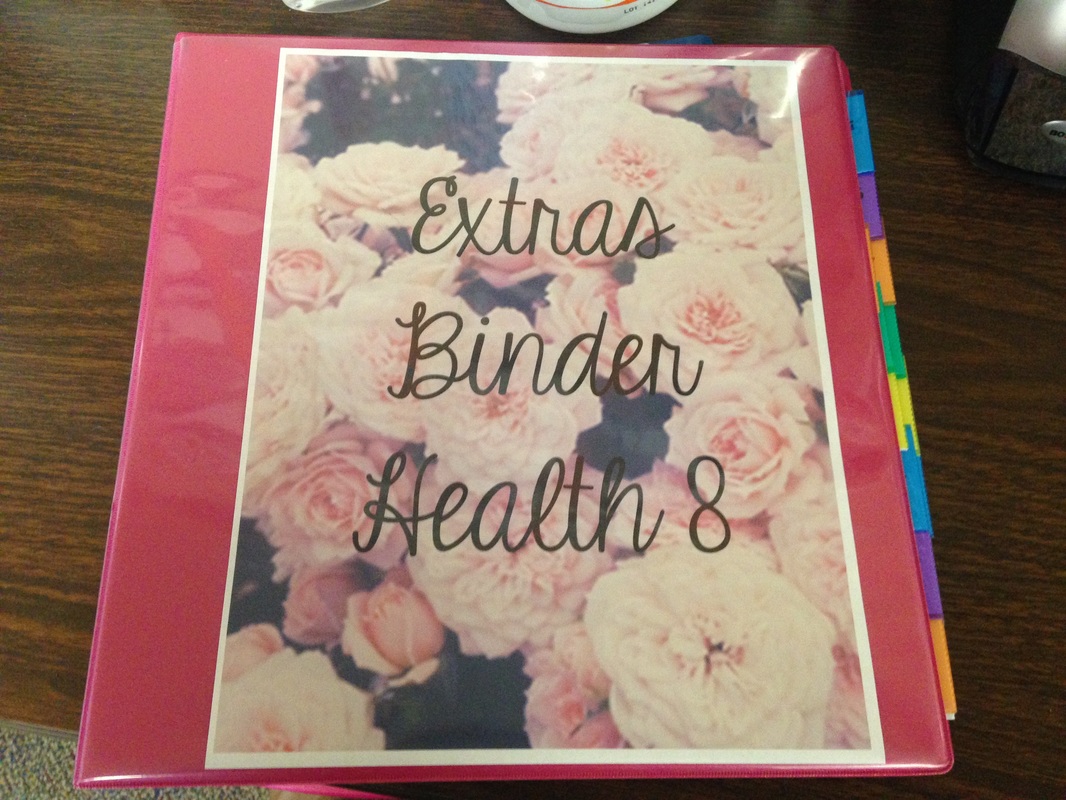
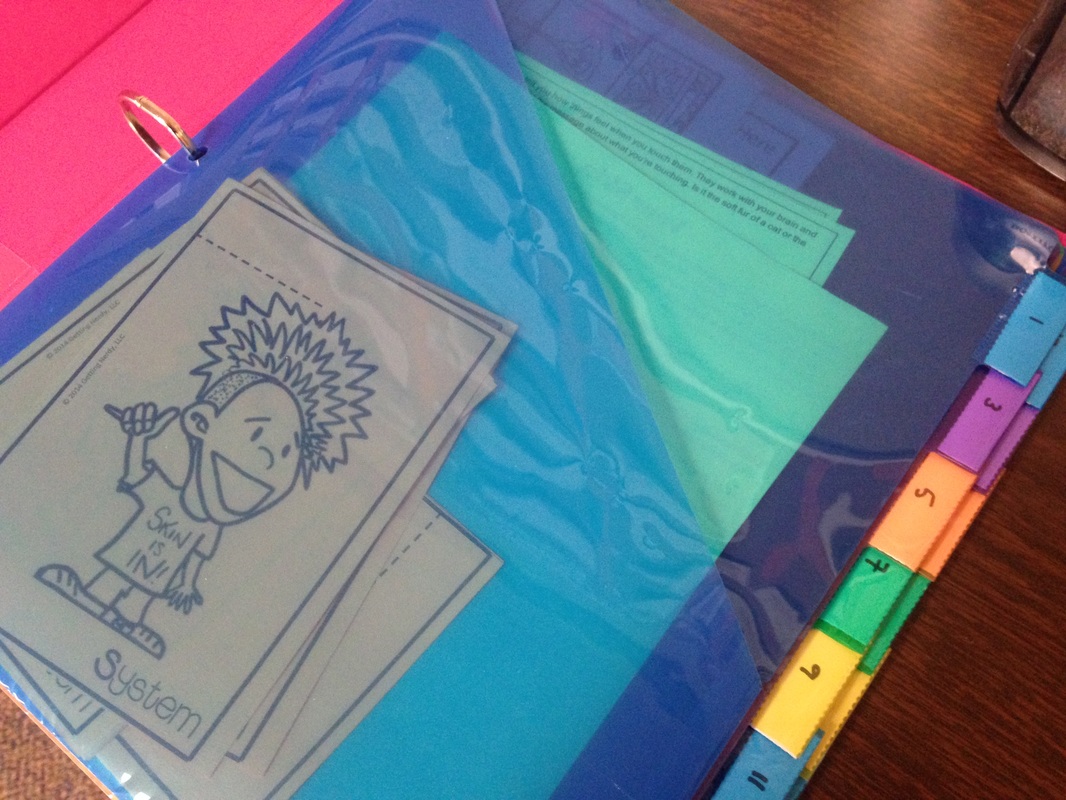
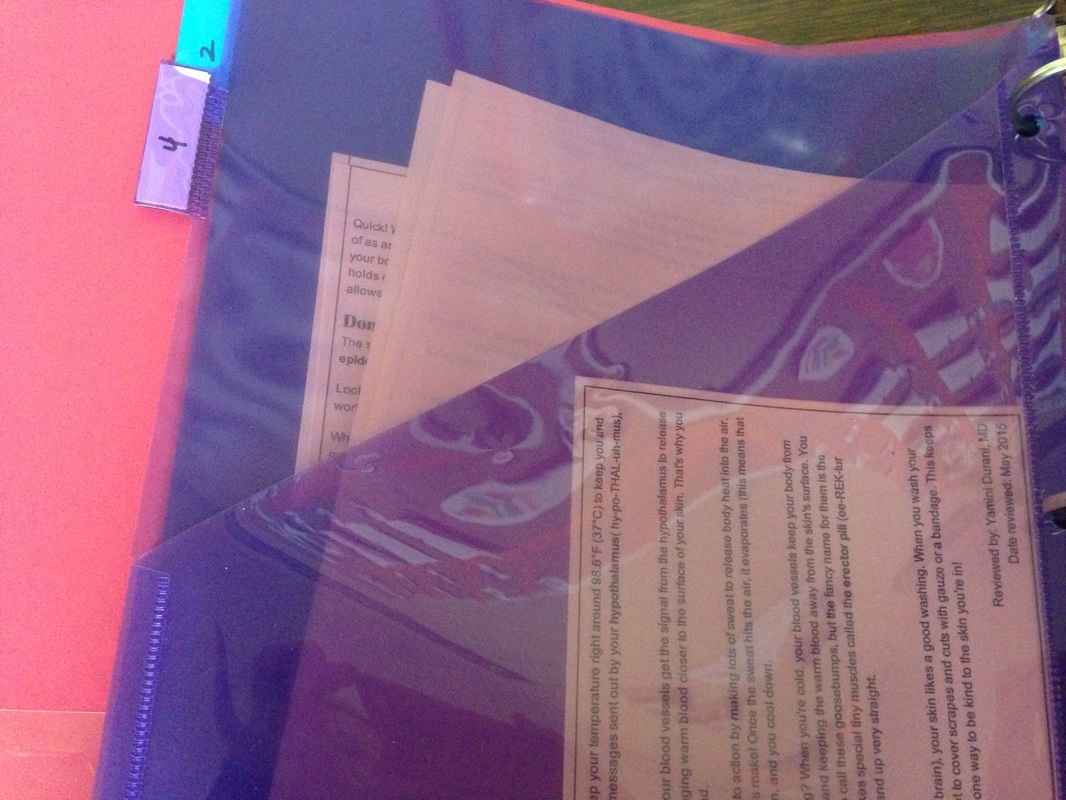
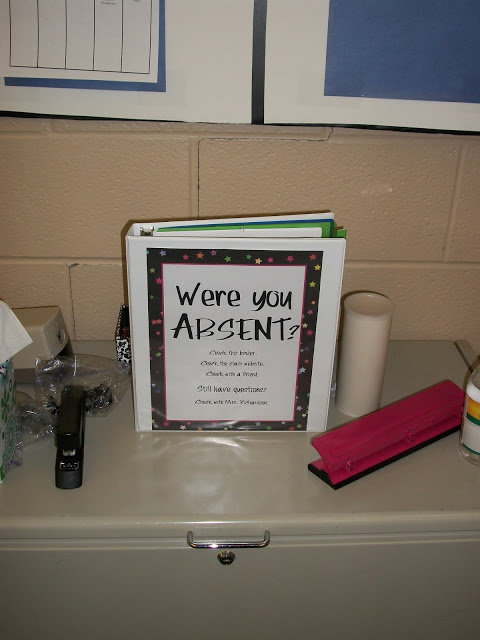  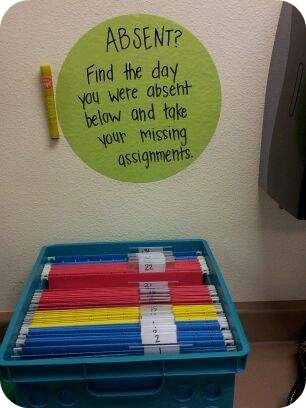 The first one I really liked was the picture above on the right (I couldn't find the original source). The part I liked was that students would be able to do that themselves and it would still stay organized. I parts I didn't like was that I would need a place to store 3 different bins for different classes. Also until recently I've had classes that I see only every other day so going by day number could get messy quickly. I kept the number idea however, I just applied it in a different way. The picture in the middle above I liked because it would be a big place to post things in a calendar format. The picture on the left I like for the purposes of it not taking up much room and it be easily portable if we were working in an another room for a project. I took the elements that I liked from each of these ideas above to create my own system. I created a bulletin board calendar to post class and school information on as well as holidays. I made slips that fit in each square that would explain the information that they would need to know. I used a similar format as Eat. Teach. Write's Absent binder but made it my own. I then bought 3 different binder and a ton of double sided binder folders with tabs and numbered each side of the folders. How the system works is everyday I fill out calendar slips for each class and post it on the calendar board. I write what papers were handed out along with the number of the folder that the extras of it were placed in. I have sticky notes on the student center that either I or my paper czar write which folder number papers get placed in during the day. I also write the intro activity for the day along with what we did as well as any assignments given out. On the student side, when a student misses class they look at the calendar slip for the day they miss. If there were papers handed out that day they will find on the "papers" line something like this: "article (1) foldable (2)". The number behind the title of the paper is which number folder the paper is in. They then grab their class's extras binder, locate the folder and take the paper out. They then find the intro activity for the day, write that in their notebook and read the rest of what we did that day. If they have questions they can then ask me or another student who was present. Easy Peasy. Another option they have for find out what they miss is checking the class website. Each class has their own tab where I have google slides for each week. I write the same information that they can find on the calendar slips as well as links to slides or videos.  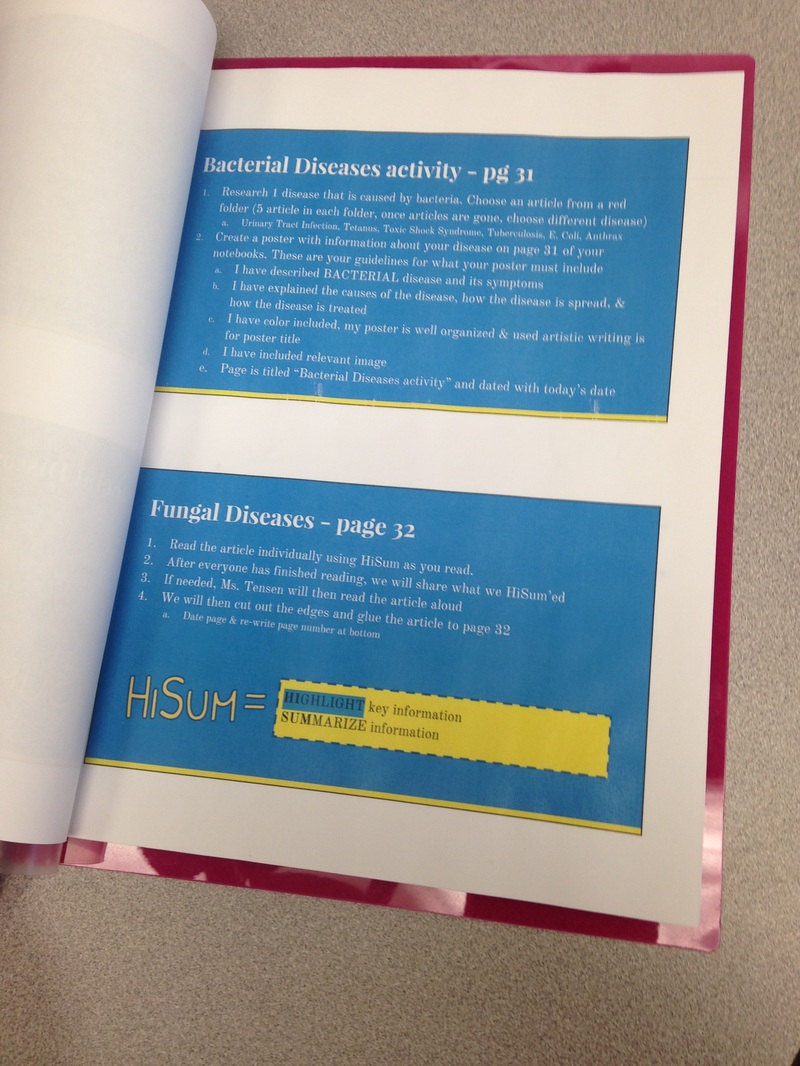 I also have print out of the slides available for each class next to the binders on the student center. Usually the slides contain directions and information. They are available online via links on the slides but a majority of my students are not 1:1 with a device so it can be a challenge to get them access, so I printed them off for them to use when working on make up work in my room. This system works really well for all of grade levels. It keeps the extras organized and it frees me of having to constantly giving students make up work. They can do it all on their own and ask me the more complicated questions. I always make sure they start by reading the calendar slip before I answer their questions because I want them to take initiative and be responsible in getting make up work if they miss class. 
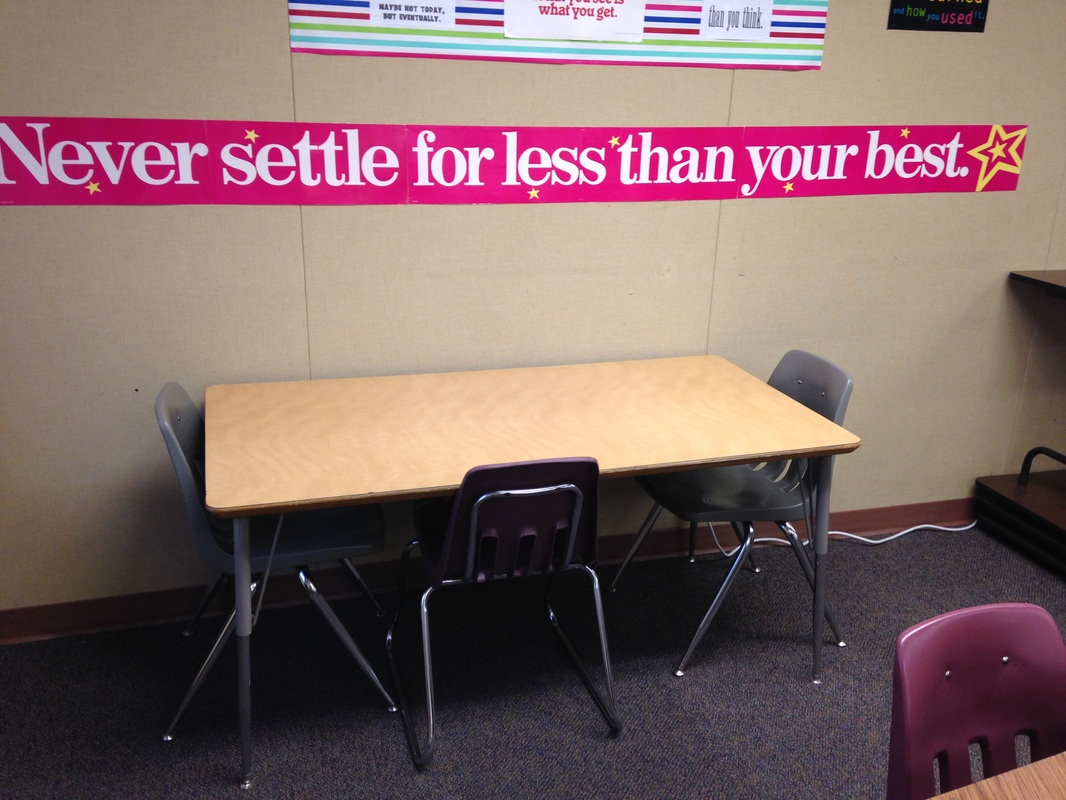
This year I decided I wanted to create my own classroom rules or code of conduct to fit the type of classroom environment I want to create for my students. I tried having my class create rule or jobs last year, but it didn't really work all that well. There were things that my students did or didn't do that drove me crazy last year so I created these rules to help fix some of those behaviors. When looking for inspiration on Pinterest I found this "Classroom Rules- The 5 P's" idea and I really liked it. I adjusted it a little to fit my needs and I added the Big I because helping my students learn to take initiative is a huge goal of mine. So below is the poster size version of my classroom rules! Let me know what you think.
So now that I had created new rules from my classroom, I wanted to reformat and adjust my classroom syllabi. Most middle and high school syllabi are 2-4 pages (one sided) if there even is one. Mine last year was 5-6 pages long (one-sided). I think my students (and other teachers probably) thought I went a little overboard. Even so, to me a syllabus is a place where all of the classroom policies and information about a class are located. I wanted my students to know up front what my expectations and policies were so that there were no surprises later. I didn't want my students to be able to say...
"Oh I didn't know about that" or "That's not fair, you let him do ______."
I still believe this about my syllabus for this coming school year. It still contains all of the information I think they need to know to be prepared for my class. However, I've condensed my explanations and made it more visually interesting. I also took out some policies that I didn't use or had changed my mind about during my first year of teaching.
I got this idea about making my syllabus more visually interesting from Jackie at Room 213. She had a post about making a digital syllabus and it included a FREE template. So I used her fantastic template and made it my own by changing colors, fonts, and adding my own information. I am so grateful to her for sharing such a wonderful free resource!
So without further ado, here is my Health 9 Syllabus for this year.
If you would like to learn how to embed PDFs from Google Drive like I have done above, click the "Read More" below!

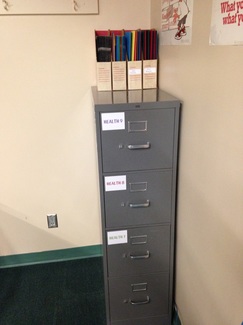 At the beginning of the school year, I said I was going finish sorting through everything the previous health teacher had left for me and I finally did it! It feels so satisfying. I reduced 4 full filing cabinets to this beautiful one to the left. There is one drawer for each class and the hanging files insides are color coded (as are the labels on the outsides) and organized by unit of study. I'm in love! What prompted this was that I found out I would be moving classrooms and my new classroom is significantly smaller than the one I had this year. We had a staff workday and all of my grades were already done for the quarter so I figured I would get it done. There was no way I wanted to have to move all of this stuff just to throw it once I get into the new classroom. I have a much better understanding of what my curriculum so it was much easier to know if I would use or need something as I sort through everything. 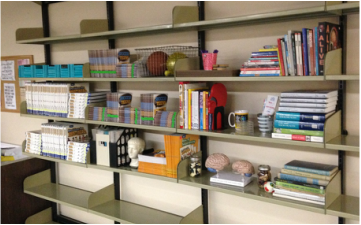 I also went through my bookshelves again and got that reduced to 9 shelves! All in all it was a ton of work, but it feels really amazing to have it done with! It had been bothering me for a while so It was nice to have the time to do it. I had two overflowing recycling bins worth of things by the end! I will most likely still sort through some things again when I pack stuff up to move, but a majority of the hard work is done! I've already started drawing up plans for how I think I will set up my new classroom. With getting rid of so much clutter, I think everything will fit in the new, much smaller, space!  |
Author

I teach 7-9 Health Education & Computer 7 in rural southwestern Minnesota. I love using technology in my classroom and teaching students about how to live healthy and informed lives.
Archives
April 2016
Categories
All
|


 RSS Feed
