|
This summer I updated one of my products and added a new product to my TPT store! For the Peer Evaluation Form I added a cover page and terms of use plus changed the fonts. I also changed the format to PDF instead of a word document. I also added bonus which is a link to a Google Forms version of the form which is fully editable after you make a copy. I added the Student Feedback Survey which I use this at the end of each quarter to get feedback from my students on how I am doing. I also have included a google forms version on the survey. Both of these products are FREE! I will hopefully get another post on here soon! 
0 Comments
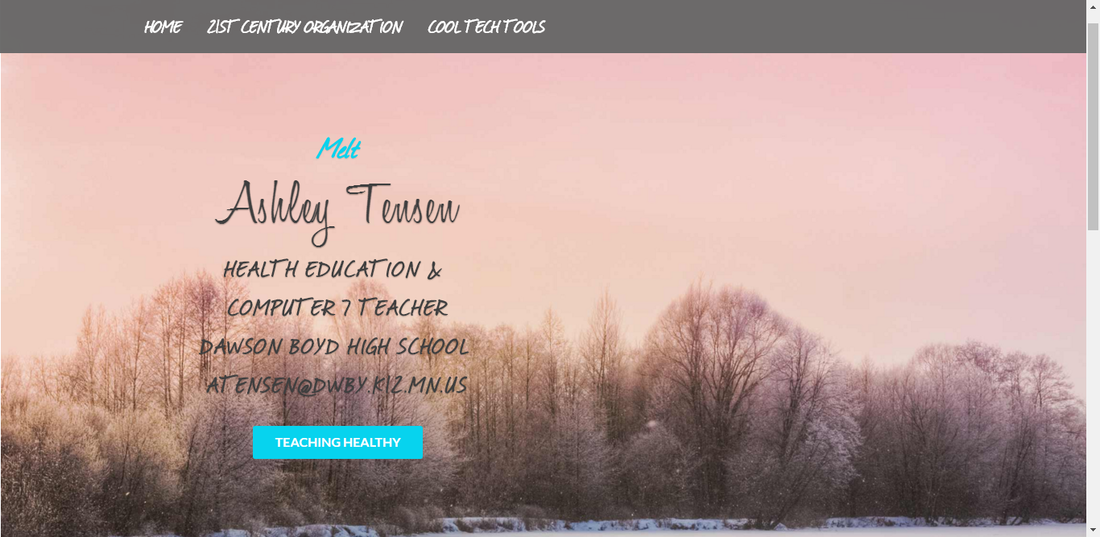
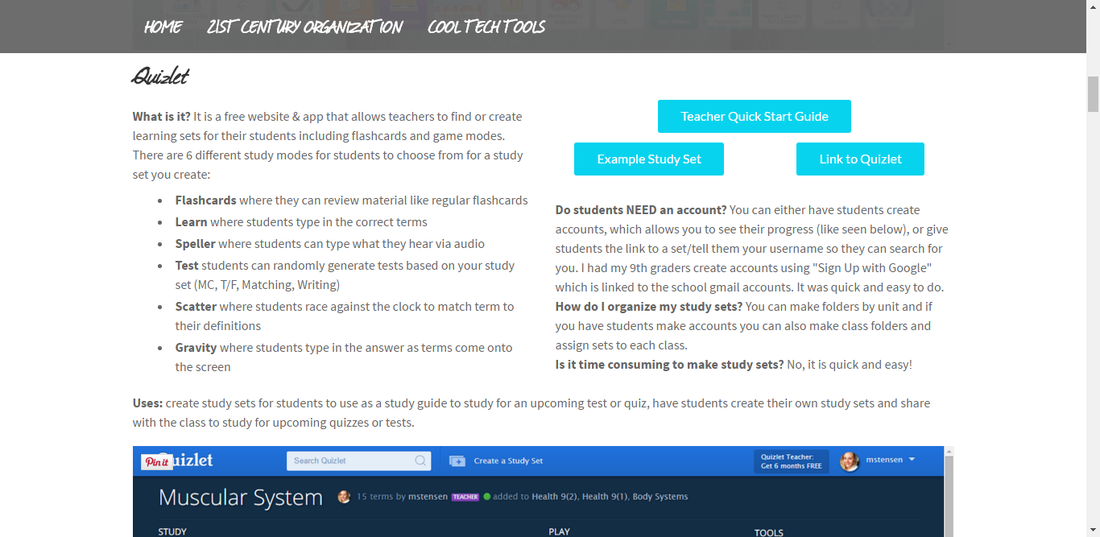
Before I talk about my failure, I want to explain some background. First, my school district participates in this thing called Melt, which multi school districts from around the area participate in. There are a ton of different professional development sessions on various topics and you choose which ones you want to go to. Second, the 2014-2015 school year was my first year teaching. Third, my first year I signed up for 3 sessions, 2 one hour sessions and 1 two hour session. I went to my first two sessions which were nothing special and then I went to my third session which was going to be on GBLT. Everyone filed into the session and we waited and waited and no presenter showed up. One of the organizers of the event then showed up and explained that the presenter would not make it so I asked what people were interested in learning about from the session. Based on their feedback I volunteered to teach the session. I had just taught this topic to my 9th grade health classes and had a presentation already put together for that so I logged in and presented using that material. The session went really well and I got a lot of good feedback. Now that you have the background information I can explain my failure. This year I was asked to present at Melt in January. I said I would do it and came up with two different presentation topics to present on, Organization and Technology Tools. As I typed up the descriptions I knew I wanted them to be as interactive as possible with more time to apply and less time of me talking. Here are the descriptions for both of my sessions: 21ST CENTURY ORGANIZATION OF LEARNING SPACES In this session we will go over some different organization techniques and some management techniques that are student-centered as well as some that are teacher-centered. We cover both digital organization and learning space organization all while keeping our 21st Century students in mind. Come with an open mind and collaborative spirit. The presenter will adapt presentation to meet the questions and needs of audience but overall format will be approximately 20-30 minutes of lecture, including a TED Talk and sharing of pictures as well as explanations of how the presenter currently applies 21st Century organization in her middle/high school classroom, with the rest of the time open for questions and collaboration. All content areas and grade levels are welcome because many of the management and organization techniques covered during the session can be applied to any content area as well as grade level including elementary, middle, and high school settings. COOL TECH TOOLS & WAYS TO IMPLEMENT AND USE THEM In this session, we will not only learn about a variety of tech tools, we will also learn how to use them and ways to implement them into our classrooms. The format of this session will be 10-15 minutes of presentation with the rest of the time for hands on application and sharing of ideas, questions, and concerns. The tools we will cover include Plickers, Weebly, Explain Everything, Google Slides, Piktochart, Schoology, Twitter, Remind, Tackk & Smore. Even if you are familiar with how to use the tech tools listed above, I encourage you to come and learn new ways on how to use them in your classroom and share how you are currently using them with others. If you have no idea what any of those tech tools are or if they even exist, I encourage you to come as well and learn how to use these cool tech tools. Please bring your own devices including but not limited to cell phones, iPads, chromebooks, laptops, etc. Bringing your own device will allow you to get the full experience of using these different tools plus you will already have it set up and ready to go for use in your classroom. Bring a collaborative attitude and you will be sure to walk away with at least one cool new tool to bring technology into your classroom. With my descriptions in mind, I then created a website for my sessions instead of the typical PowerPoint route. I created the Cool Tech Tools page so that it could be self explanatory & have all the links they needed. I also included how I used each tool in my classroom. I planned nothing for the 21st Century Organization because I wanted to see what they wanted to know (I went back and added links after the session based on what we talked about). Below I have screenshots of the website and a link to the site.
Now comes the day for presenting. I received the last two slots for the day, which I now know are not ideal, and found out I was in computer labs for both sessions. I got into my first session, 21st Century Organization, and set up. This lab was huge and not ideal for the vibe I wanted this session to have which was more a conversational type of vibe. I asked them what they were hoping to get out of the session or wanted to know and that got the conversation started. Most of the feedback I got was positive with one negative feedback. My takeaways from this session is to definitely ask what they want to know again, but have them post somewhere like a Padlet (either anonymously or not) so that everyone could share what they wanted to learn without having to talk. That would also help me organize my presentation and make sure I hit everything they wanted to learn. I also would prefer to not do this session in a lab and make it a BYOD so that if they want to organize while I present they can or they could just listen. My next session was Cool Tech Tools which was the last session, right after lunch and 35 people were signed up. I was more nervous for this one. I wanted to stay true to what I had said in my description 10-15 minutes of presentation and the rest of the session to implement and share ideas. I had a lot of material to get through in 15 minutes, so I talked really fast plus I was nervous and I talk fast when I'm nervous. I also use humor when I am nervous. I tried to give a quick overview of each site. I didn't give them the link right away (which next time I would as they walk in). Once I got done giving an overview of all the tools on the site I opened it up for questions. No one really had questions so then I gave them the website URL and said that they could explore. Some of then sat there for a little bit and didn't do anything and then left. Others picked out the tools they were interested in and asked me questions. After the session was over, I felt that it had not gone as well as I had hoped but it was't awful. The feedback I received agreed with my feeling because there were some negative comments as well as some positive comments. Some of the feedback included:
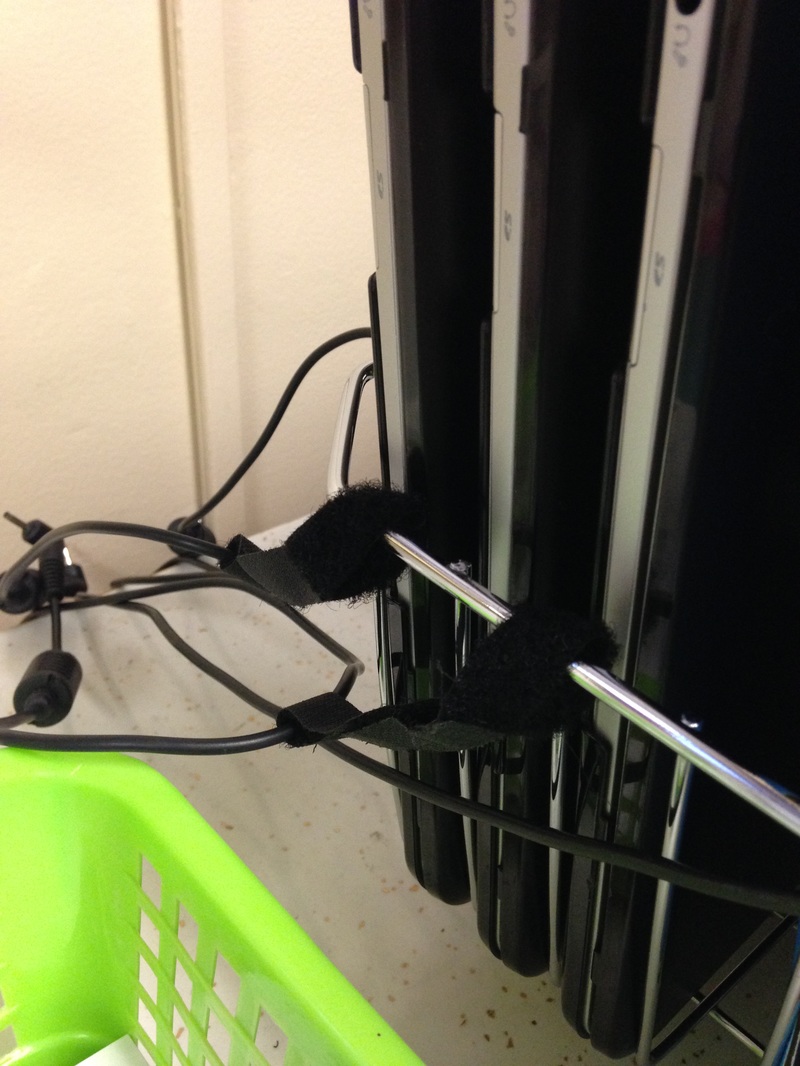
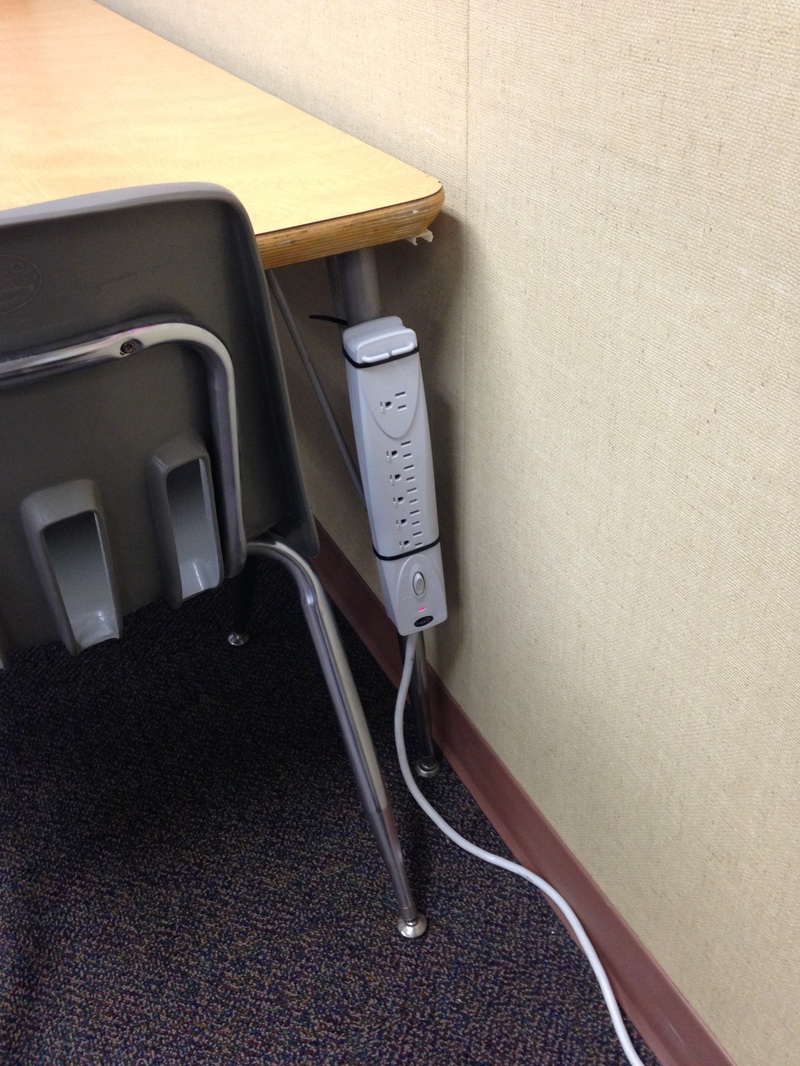
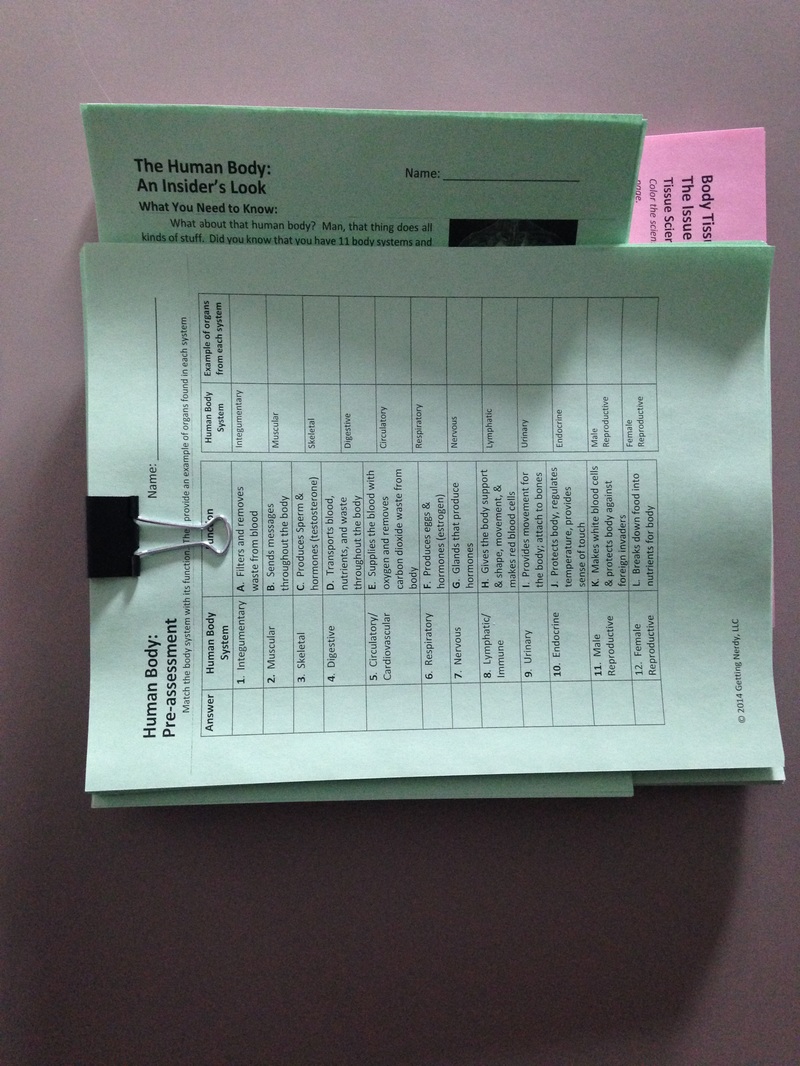
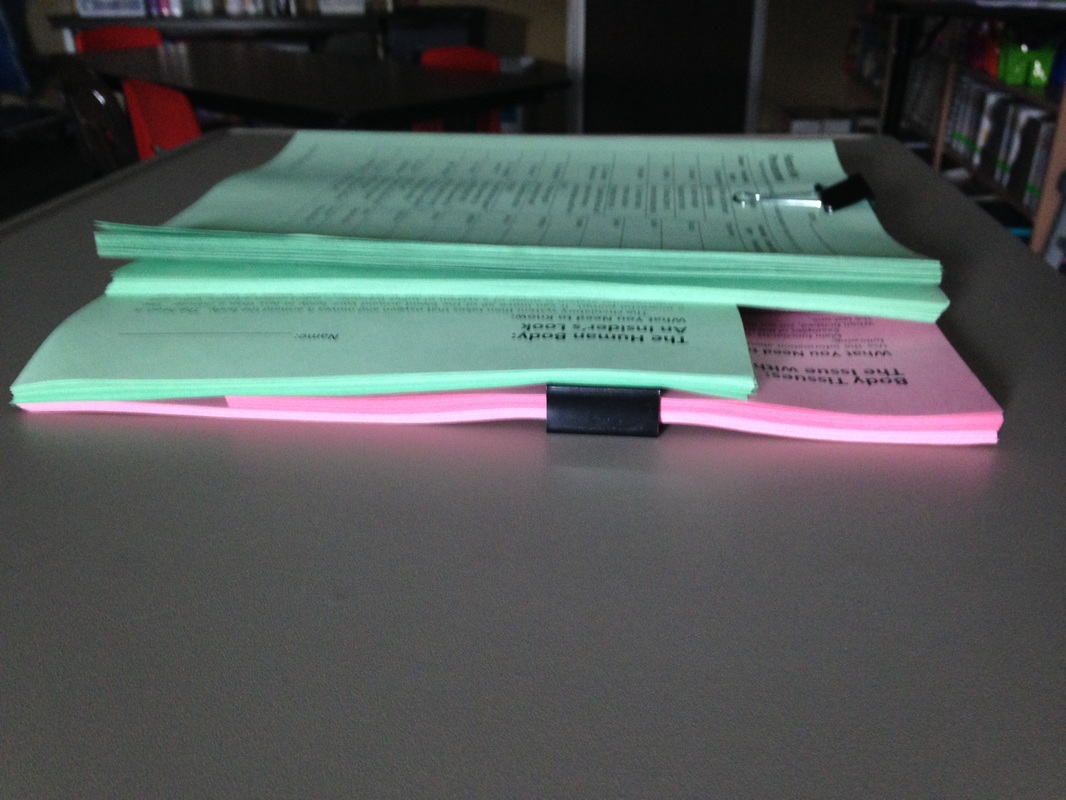
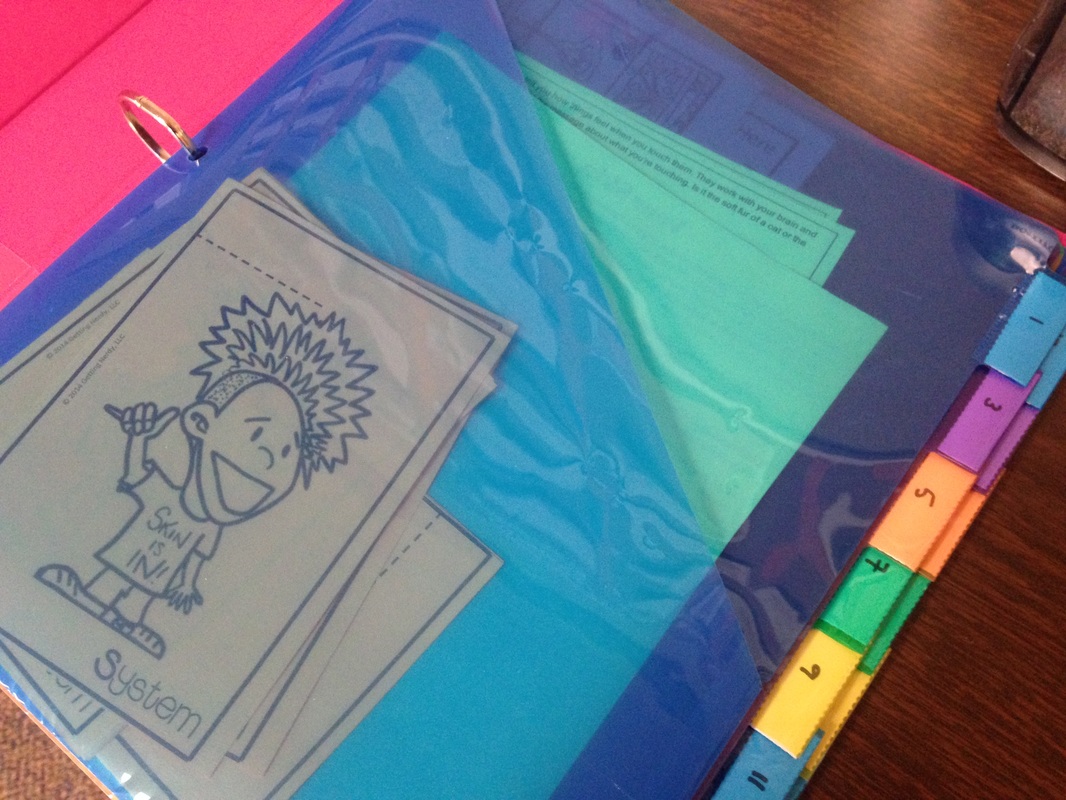
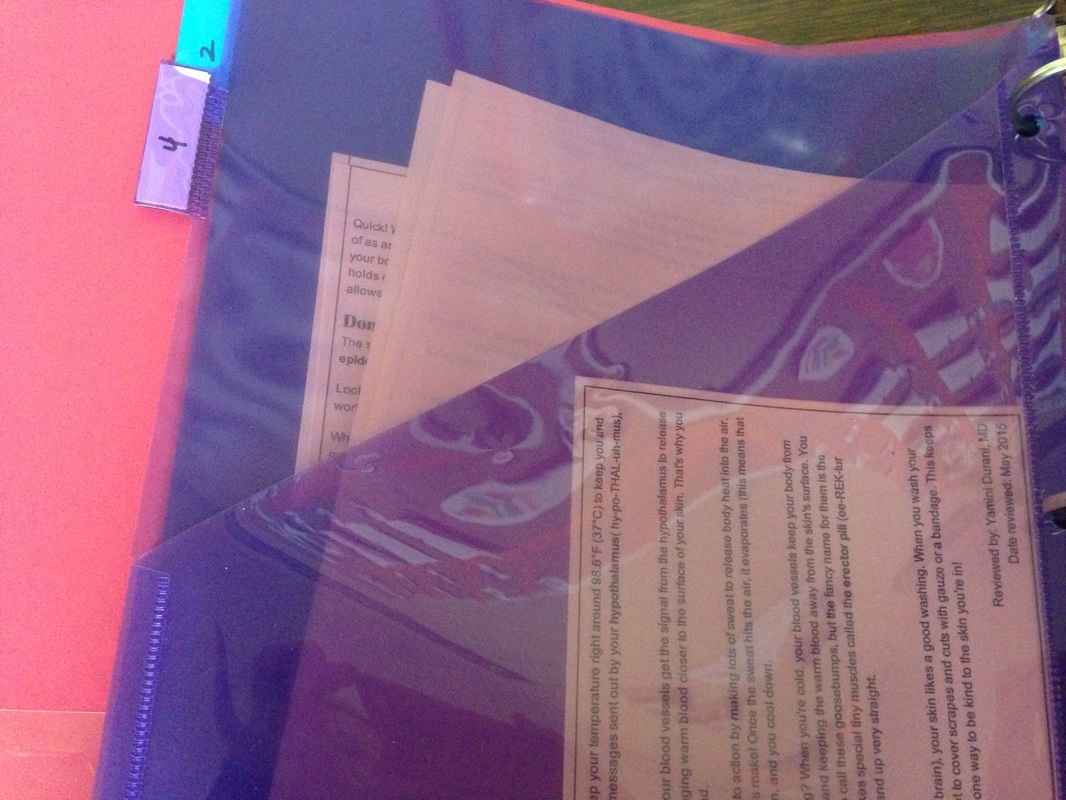
After I received the feedback I posted this apology on both the Melt 2016 home screen and the Cool Tech Tools page: "I apologize for those who found me rude and unprofessional. I was nervous as it was my first time presenting at Melt but that is no excuse. I truly love my students and have passion for what I do. What you saw was not a good representation of who I am as a person and as a professional. I hope you will consider coming to another session I present. I appreciate your feedback and will be using it to improve my presentations in the future! I realize should have explained myself better at the beginning of the session as to why I was going so quickly through the material. I created this resource to be used to explore individually rather than requiring me to explain everything for you to understand. I hope you will still use this resource and find it helpful. If you would like to contact me or give me more feedback on what I could do to improve my sessions you can fill out the form below. Thank you to everyone who attended my sessions! I sincerely apologize for disappointing you." I hope that the people who attended my session saw my apology and would be willing to come to another session I present. I also would like to thank the people who left me comments for their honestly because it has taught me what I need to work on. I sincerely appreciate everyone's feedback. I have learned a lot from this failure but it has not detoured me from presenting on professional development. I will try again and keep the feedback I received in mind. For everyone reading this, please use the website I created as a resource. Here is the link again! I included a lot of information about what each app is & how to use it in the classroom plus links to tutorials, videos, the actual websites, examples, etc. I also keep this updated! I recently moved the tabs around different from the picture above and added information about the new feature for Quizlet.  Recently I saw another teacher's picture/post on Instagram, I think, on the frustration of storing Chromebooks and their cords in a way that they won't become tangled mess. I too have been dealing with this frustration. Up until now I had a Chromebook table where they lived and were plugged into a power strip. 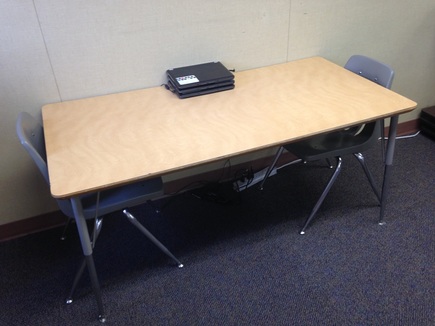 At the beginning of the year the power strip was on the floor and I had the cords running up against the wall and sitting on the top of the table which I thought would be fine. Boy was I wrong. Here was the problem with that idea. My 9th graders are 1:1 with Chromebooks and often show up with them not charged. Thus they would need to charge them to use them and would plug into the power strip with their own charging cords because they have different models than I do. The problem with that was that they would pull the strip out away from the wall to plug in their cords and not push it back against the wall or my charging cords would fall down from on top of the table and it was a struggle to get them back up alone. My next solution, which I unfortunately/surprisingly do not have a picture of, was to put the power strip on top of the table and then cover up the charging cords with a box. That kind of worked except for it took away a lot of table work space and often looked messy, especially after students had been sitting there using the Chromebooks. My new solution is... ...to place the student Chromebooks in my dish drying rack. I was, and still am, using it to store original copies of papers I make copies of a lot, bell schedules, etc. in file folders and my teacher Chromebook. I wasn't using the whole thing so I moved the files forward and added the student Chromebooks to the back three slots. They fit snug but not too tight! I then velcroed the charging cords to the drying rack so that when students unplug them to use them the cords don't accidentally fall behind the storage cabinets. In this area I already had a power strip plugged in so I plugged the charging cords into that (+ I still have one charging spot left over) and ran the cords along the back side where NO ONE CAN SEE THEM!! As for the former Chromebook table, I asked the janitor to zip-tie the power cord to the table leg so now it's easy to plug things in but also stays in place and the top is a clutter free work space!  Even though I am bad posting on here, everything is going well in the classroom. So far in 2016, there have been CRAZY busy times as well as the "I'm-home-at-3:15-and-final-bell-rings-at-3:12" days. Right now both my 7th and 9th grade students are studying body systems which has cut down a lot on planning and preparation time. My 8th grade students just finished up learning about Chronic Diseases and we are going to start on First Aid tomorrow! This year one of my goals was to focus more time and energy on my students. Last year, which was my first year teaching, I felt like I often was so stressed and bogged down with the lesson planning/figuring everything out that sometimes I didn't pay as much attention to them as I needed to. So far there have been days where I felt I succeeded and other days not so much. Some of the ways I have been trying to focus on students this year is by first implementing choice seating arrangement which has lent itself nicely to my second strategy. My second strategy is that if I see a student struggling based on notebook turn ins, I have them sit by me at a table during class so that I can more closely monitor their learning and catch mistakes before the next grading period. If they show me they can do it on their own, they can choose where they want to sit again. I think most of them don't mind, maybe even secretly like, sitting by me. They know it's for their own benefit, because I explained why they were sitting by me, so there hasn't been much push back from those students. Other strategies is just listening to the students and coming up with creative ways to help them learn the material. Another strategy that I have had success with this year is my student notebooks. I think I have finally figured out what works for me. I started these half way through my first year. I will write a separate post about student notebooks in more detail sometime but basically I feel like it really allows me to organize my students (no lost papers) and truly do productive formative assessments. Everything that I have them do in their notebook is to help them apply the material or record content (notes). They do receive a grade for their work (otherwise some of them wouldn't bother doing it) but the grade is not on each individual page. Rather the grade is for a certain amount of pages in their notebook for that turn in. I do other formative assessment along the way outside of the notebooks but the notebooks give me something physical to look at in terms of their understanding. 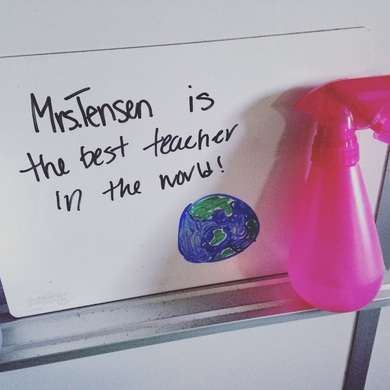 So that's what new with me! The picture above is from today. Like I said, some days are better than others and this picture is evidence that today was a better day (even if they did use the wrong prefix in my name)!  I don't know about you, but to me this question gets old fast. It was during my student teaching that I realized that I needed to create a better, less time-consuming, solution for how I manage getting make-up work for absent students/store extras of papers for students who inevitably lose them and need another one. My CT during student teaching kept her papers in a stack, where every other handout was the opposite direction, in the front of the classroom. Although this worked, I found four major flaws of the system:
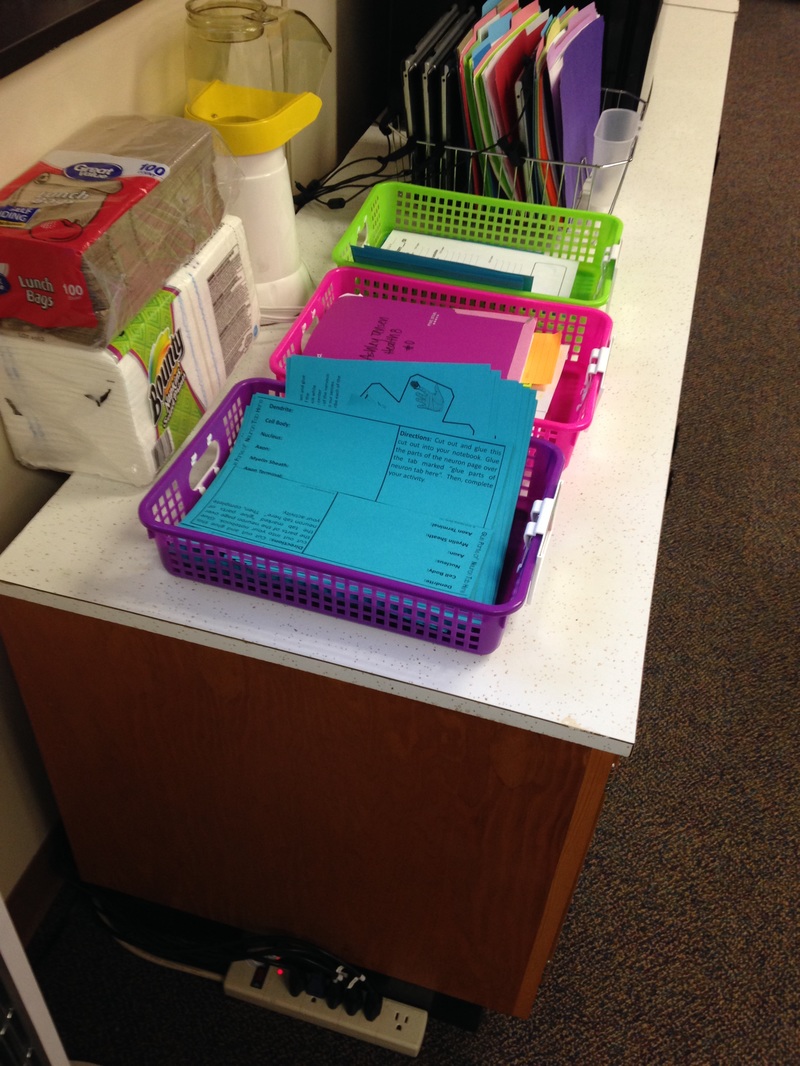
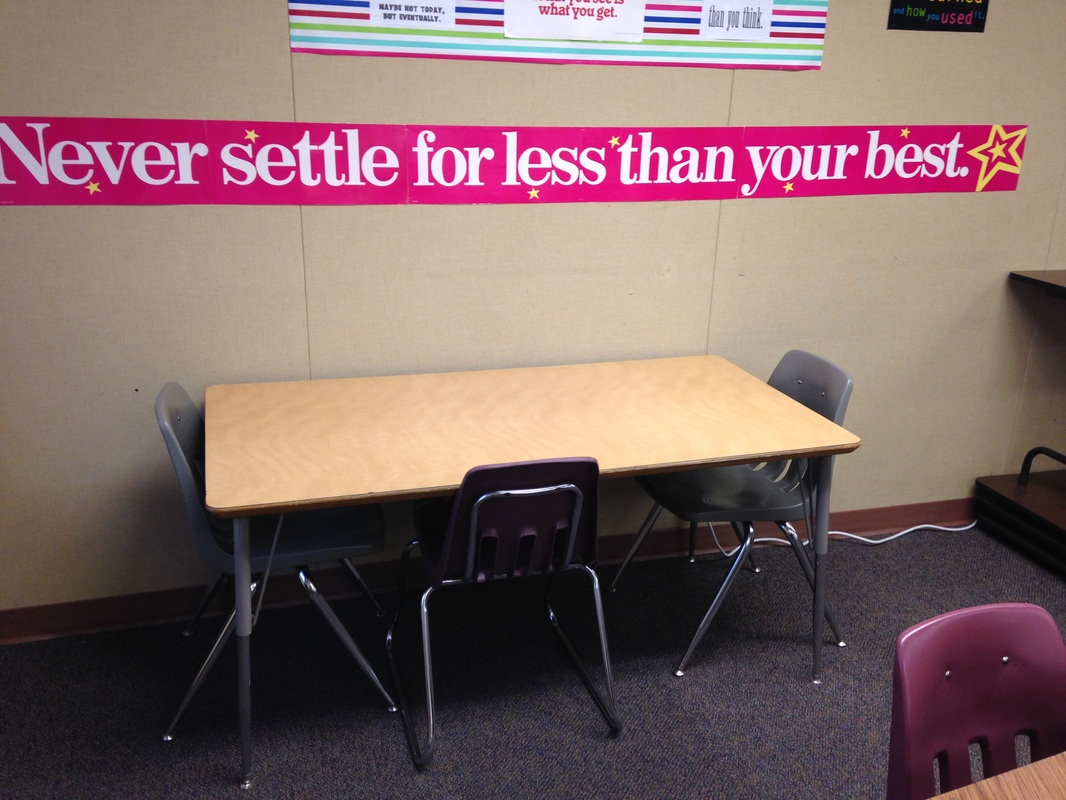
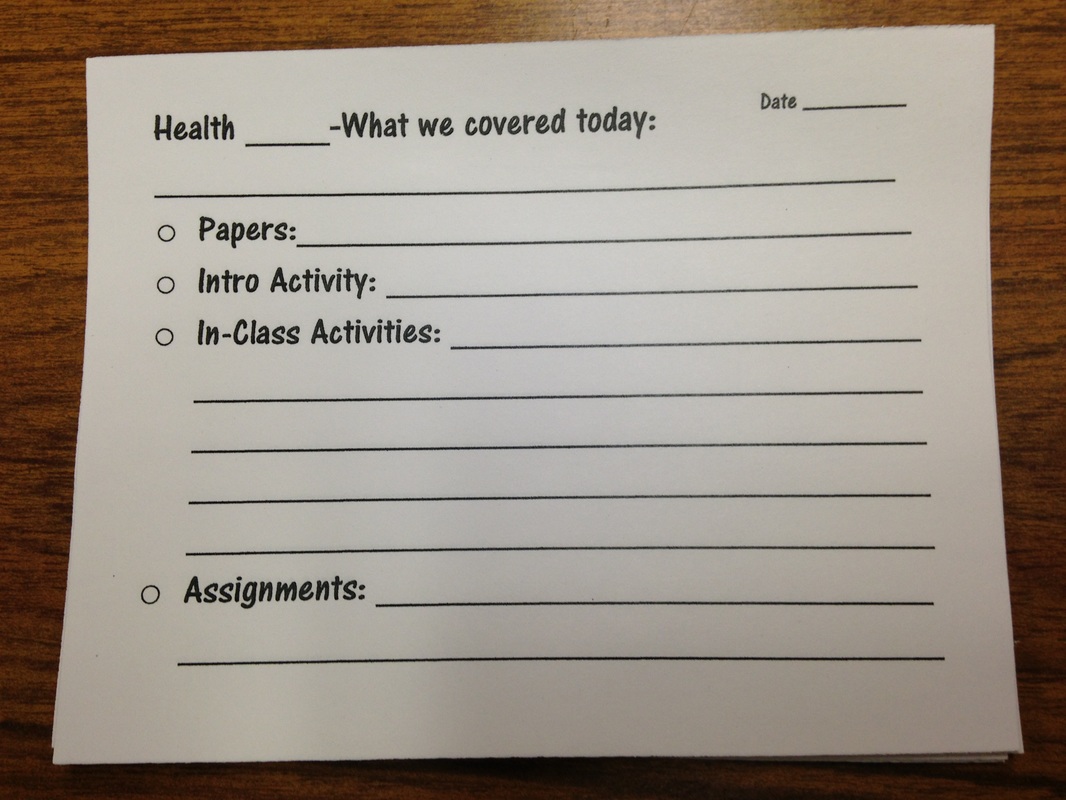
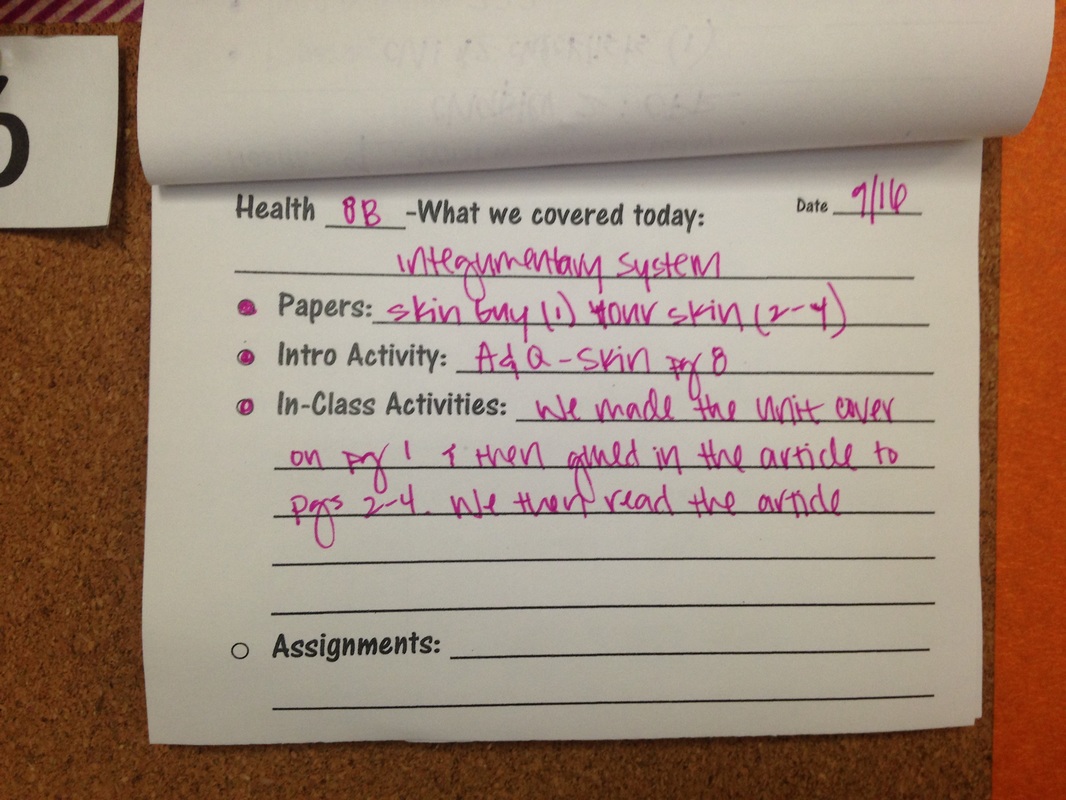
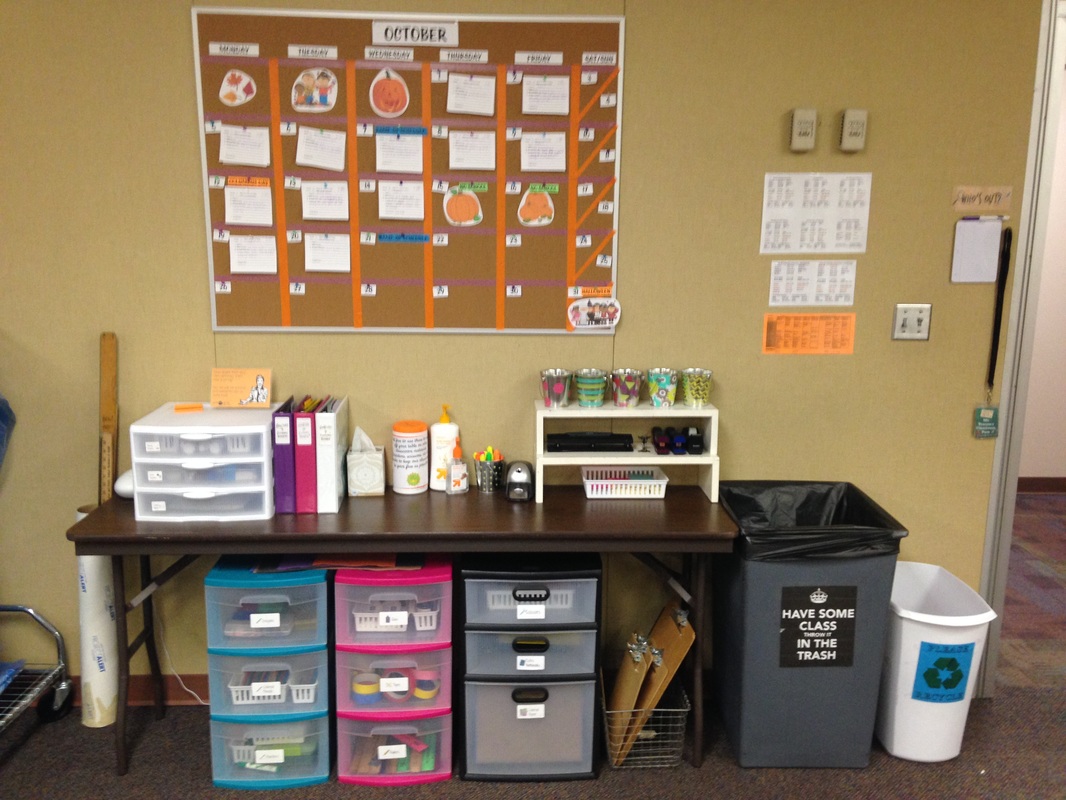
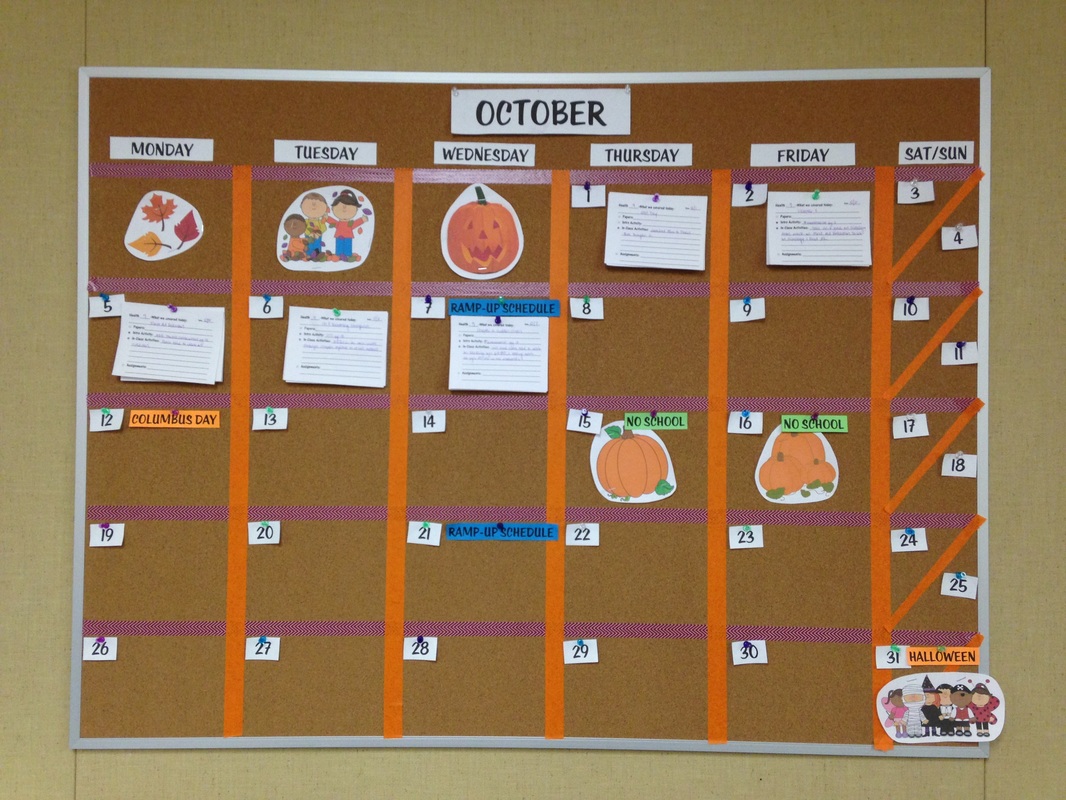
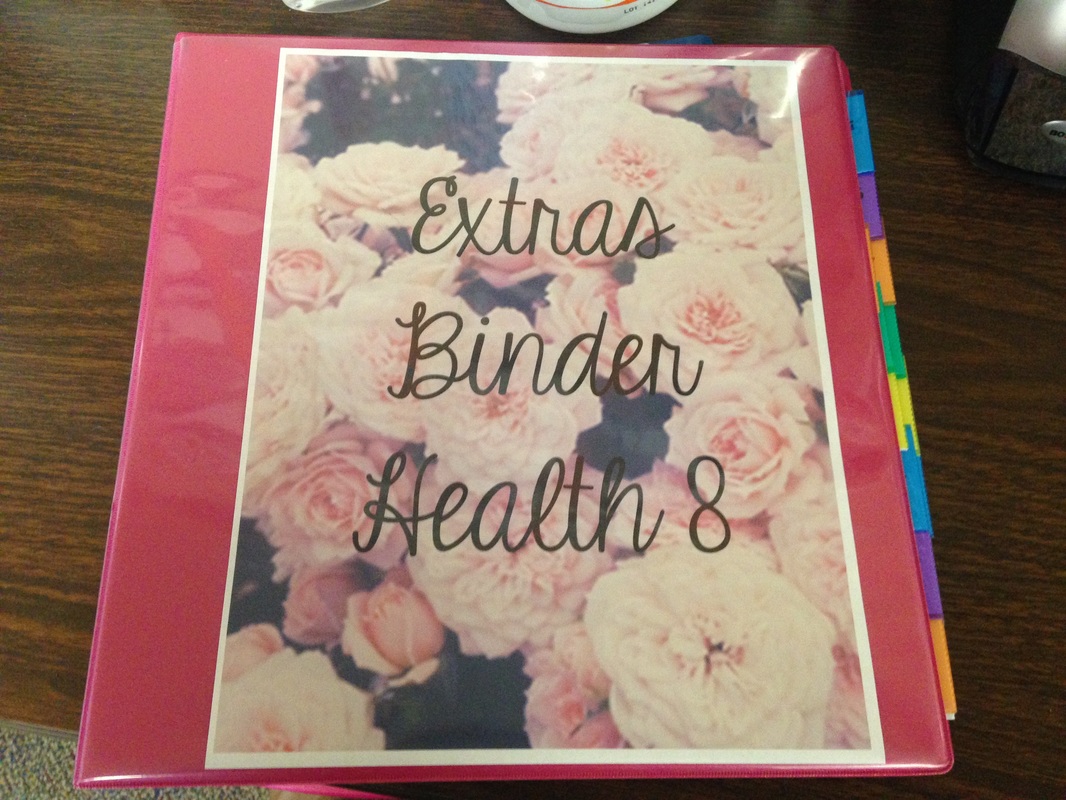
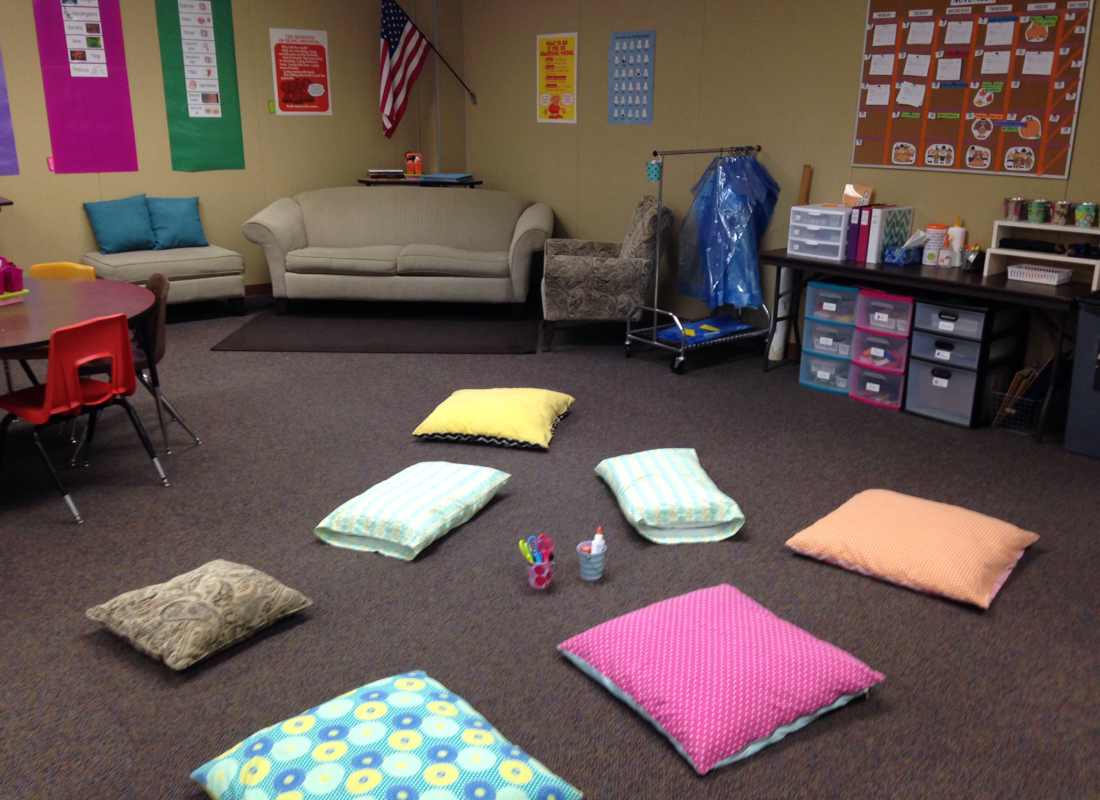
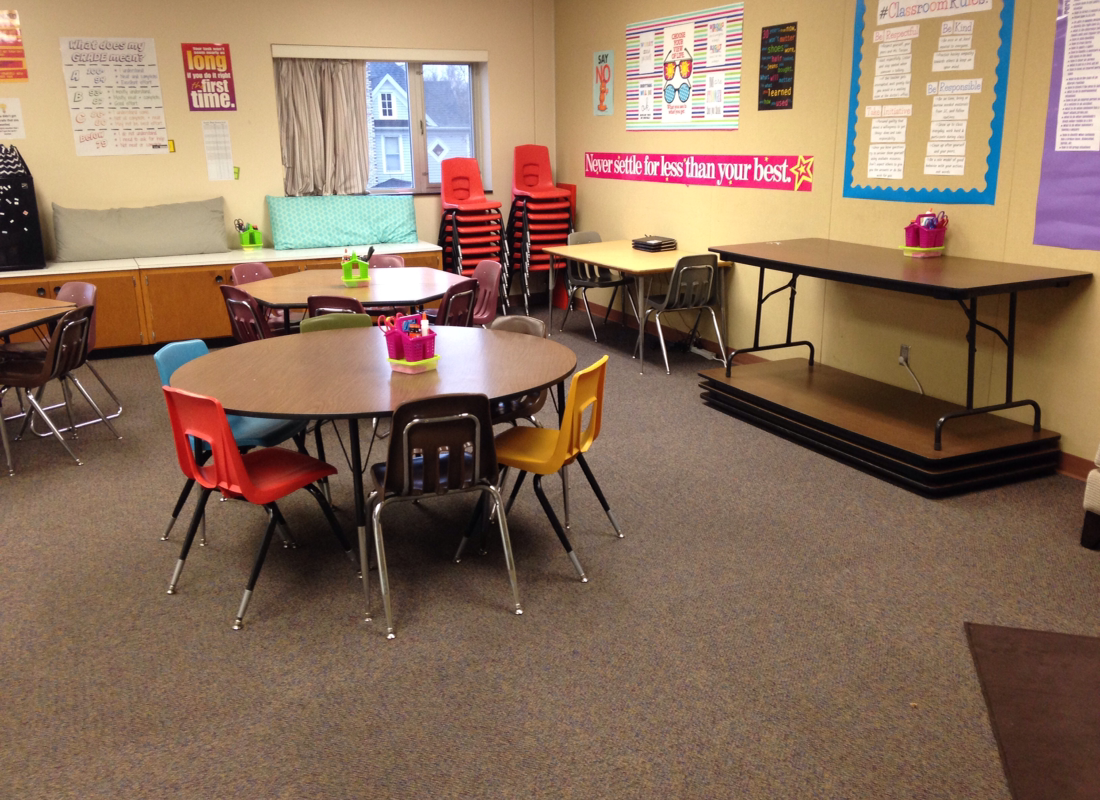
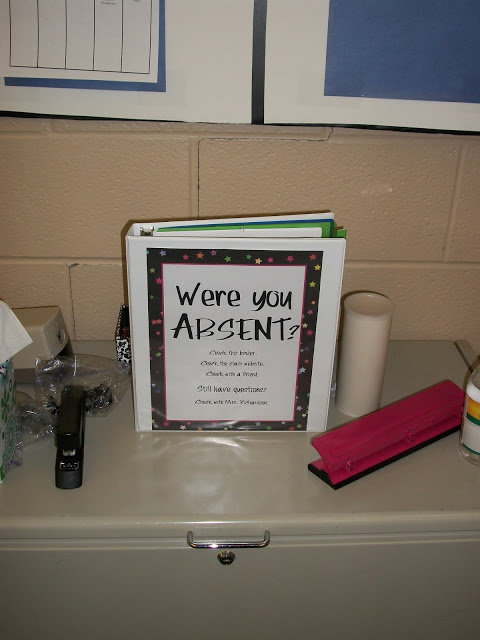  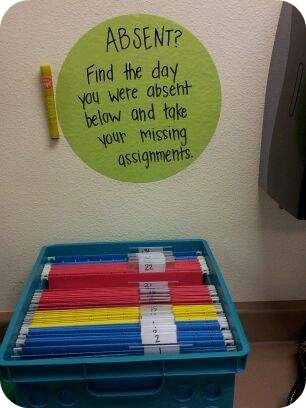 The first one I really liked was the picture above on the right (I couldn't find the original source). The part I liked was that students would be able to do that themselves and it would still stay organized. I parts I didn't like was that I would need a place to store 3 different bins for different classes. Also until recently I've had classes that I see only every other day so going by day number could get messy quickly. I kept the number idea however, I just applied it in a different way. The picture in the middle above I liked because it would be a big place to post things in a calendar format. The picture on the left I like for the purposes of it not taking up much room and it be easily portable if we were working in an another room for a project. I took the elements that I liked from each of these ideas above to create my own system. I created a bulletin board calendar to post class and school information on as well as holidays. I made slips that fit in each square that would explain the information that they would need to know. I used a similar format as Eat. Teach. Write's Absent binder but made it my own. I then bought 3 different binder and a ton of double sided binder folders with tabs and numbered each side of the folders. How the system works is everyday I fill out calendar slips for each class and post it on the calendar board. I write what papers were handed out along with the number of the folder that the extras of it were placed in. I have sticky notes on the student center that either I or my paper czar write which folder number papers get placed in during the day. I also write the intro activity for the day along with what we did as well as any assignments given out. On the student side, when a student misses class they look at the calendar slip for the day they miss. If there were papers handed out that day they will find on the "papers" line something like this: "article (1) foldable (2)". The number behind the title of the paper is which number folder the paper is in. They then grab their class's extras binder, locate the folder and take the paper out. They then find the intro activity for the day, write that in their notebook and read the rest of what we did that day. If they have questions they can then ask me or another student who was present. Easy Peasy. Another option they have for find out what they miss is checking the class website. Each class has their own tab where I have google slides for each week. I write the same information that they can find on the calendar slips as well as links to slides or videos. 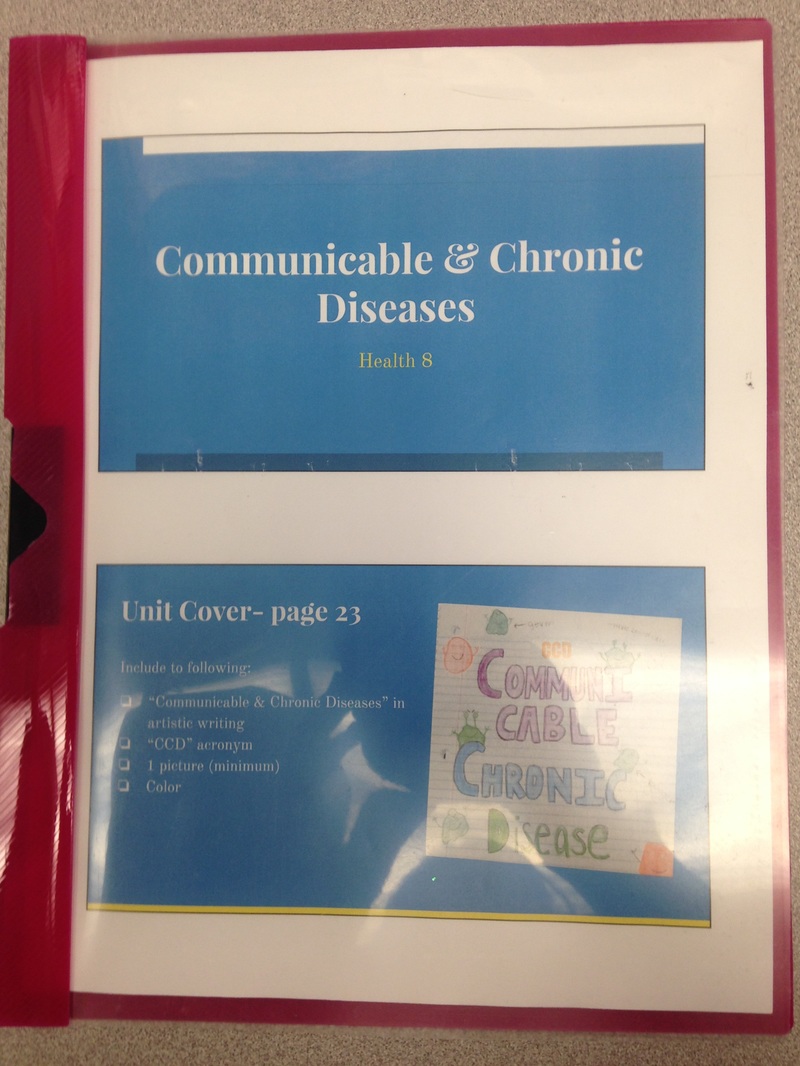 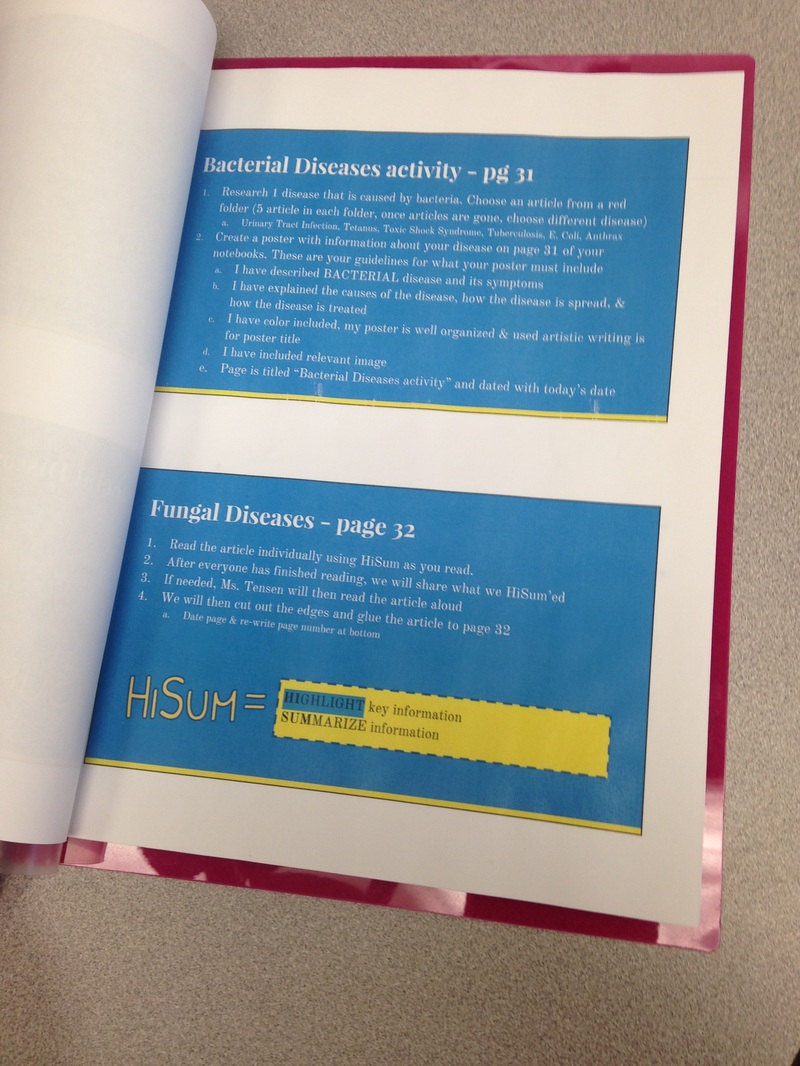 I also have print out of the slides available for each class next to the binders on the student center. Usually the slides contain directions and information. They are available online via links on the slides but a majority of my students are not 1:1 with a device so it can be a challenge to get them access, so I printed them off for them to use when working on make up work in my room. This system works really well for all of grade levels. It keeps the extras organized and it frees me of having to constantly giving students make up work. They can do it all on their own and ask me the more complicated questions. I always make sure they start by reading the calendar slip before I answer their questions because I want them to take initiative and be responsible in getting make up work if they miss class.  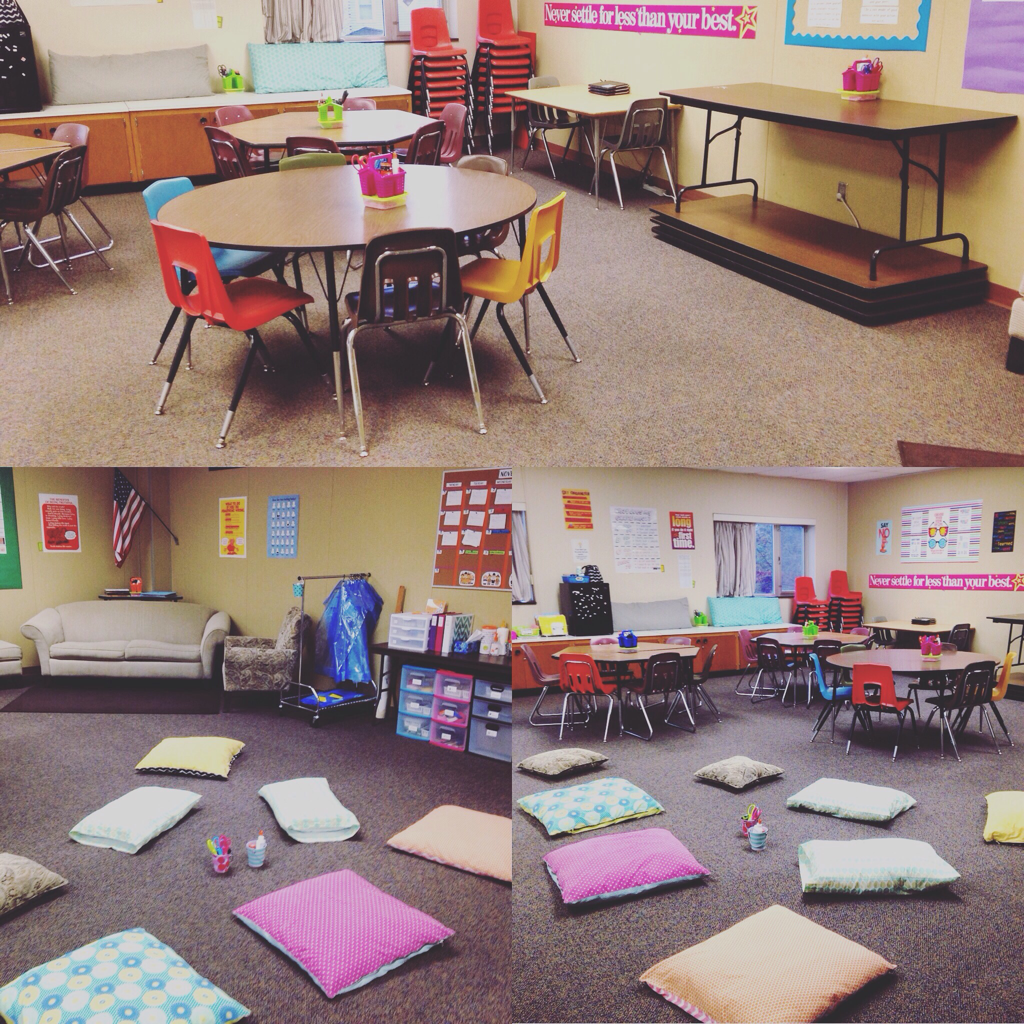 At the start of Quarter 2 I started doing Flexible seating options in my 7-9 health classes. I was very nervous about it but it's halfway through the quarter and it's been going pretty well so far. I've had this idea in mind ever sense I starting teaching, I just had no idea how to pull it off successfully. After reading a few articles and other blog posts on Choice seating or Starbucks/Coffee shop seating I was really inspired to actually put this into place in my classroom. I posted a few questions that I had on other teacher's blogs asking them how how they make it work with their kids and rooms and then took the plunge. I talk to the janitor and we worked out a plan. This biggest thing that I got from talking to other teacher's who do this is having clear expectations ahead of time. My expectations that I came up with are listed below. Expectations:
 Benefits:
I realize this might not work in all classrooms, but I'm glad I gave it a try in mine.  |
Author

I teach 7-9 Health Education & Computer 7 in rural southwestern Minnesota. I love using technology in my classroom and teaching students about how to live healthy and informed lives.
Archives
April 2016
Categories
All
|


 RSS Feed
