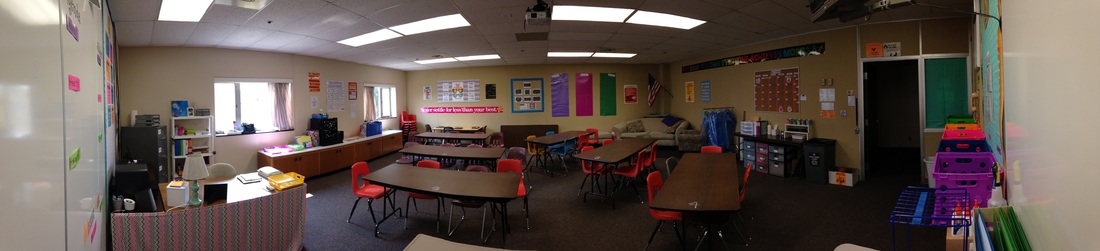
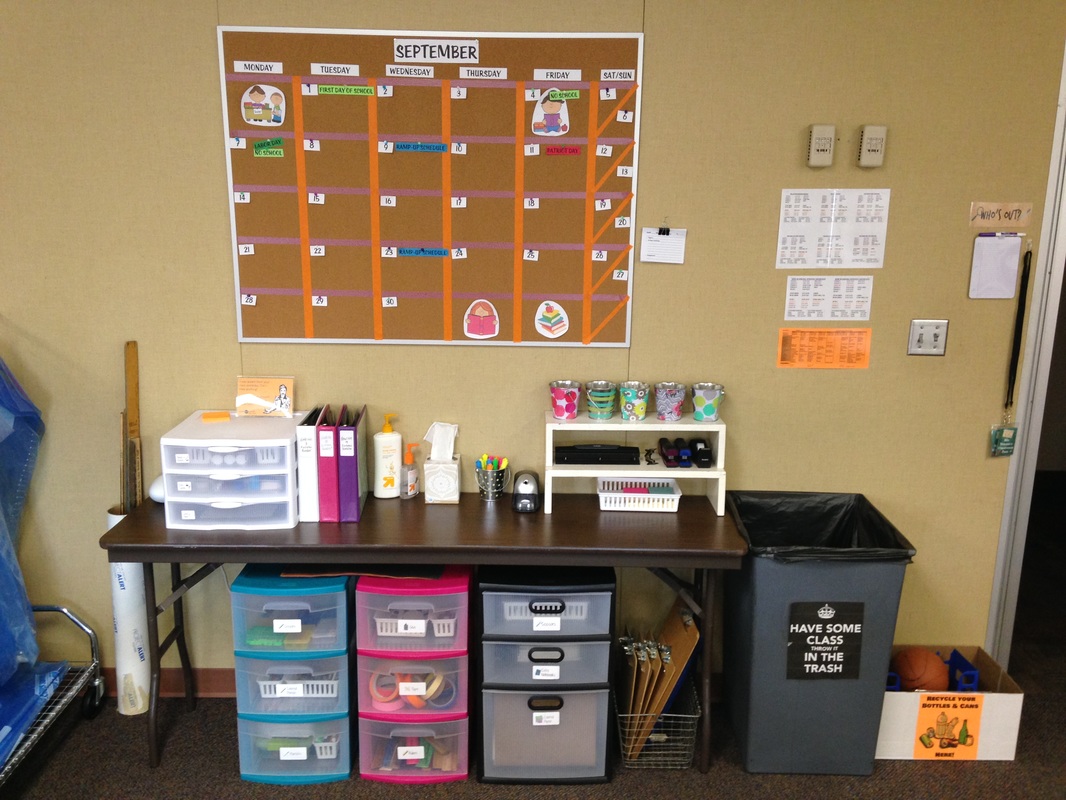
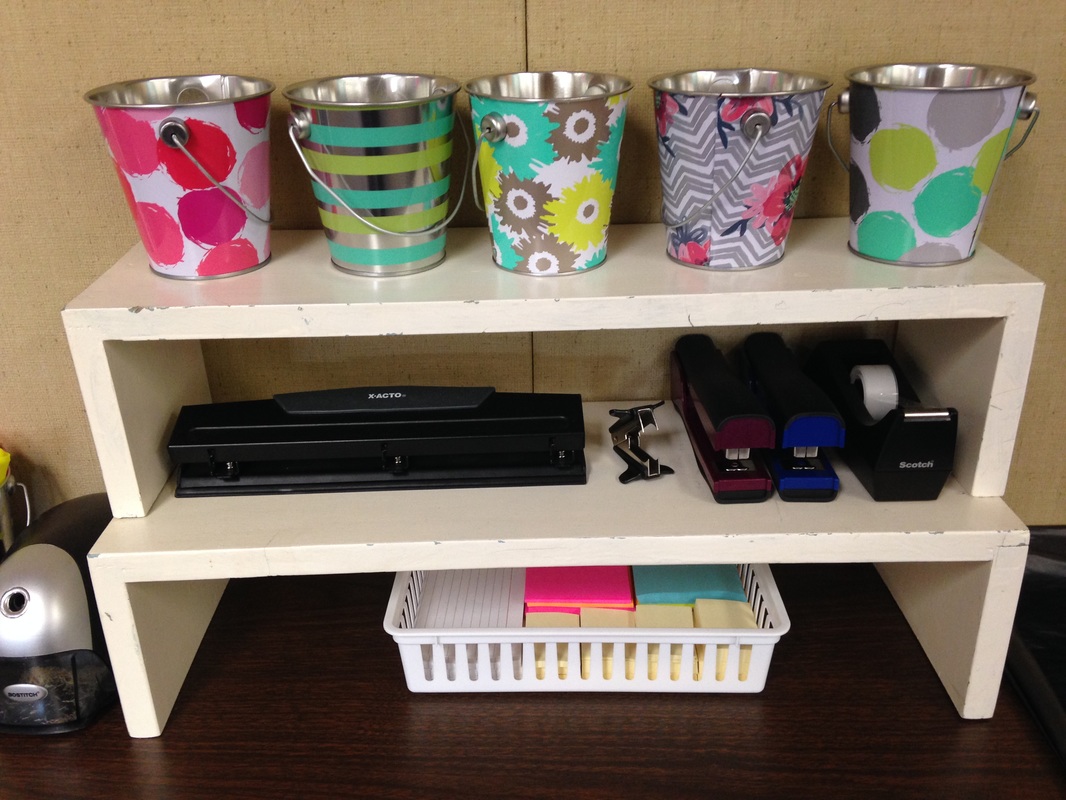
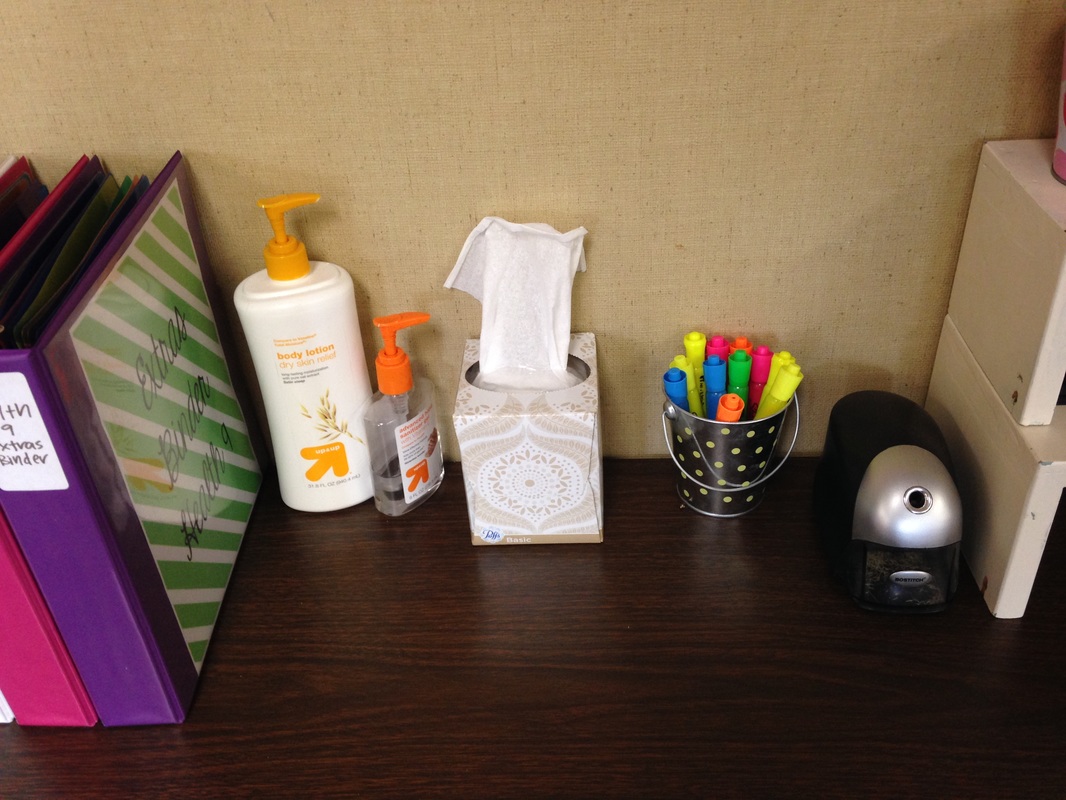
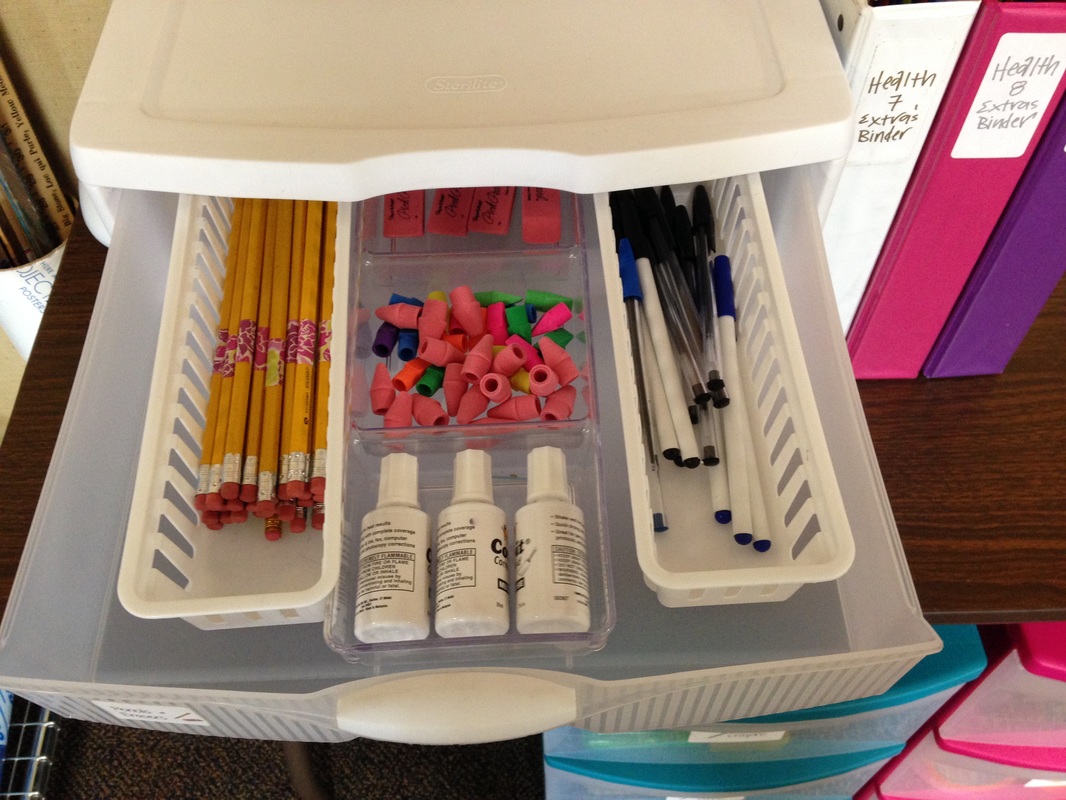
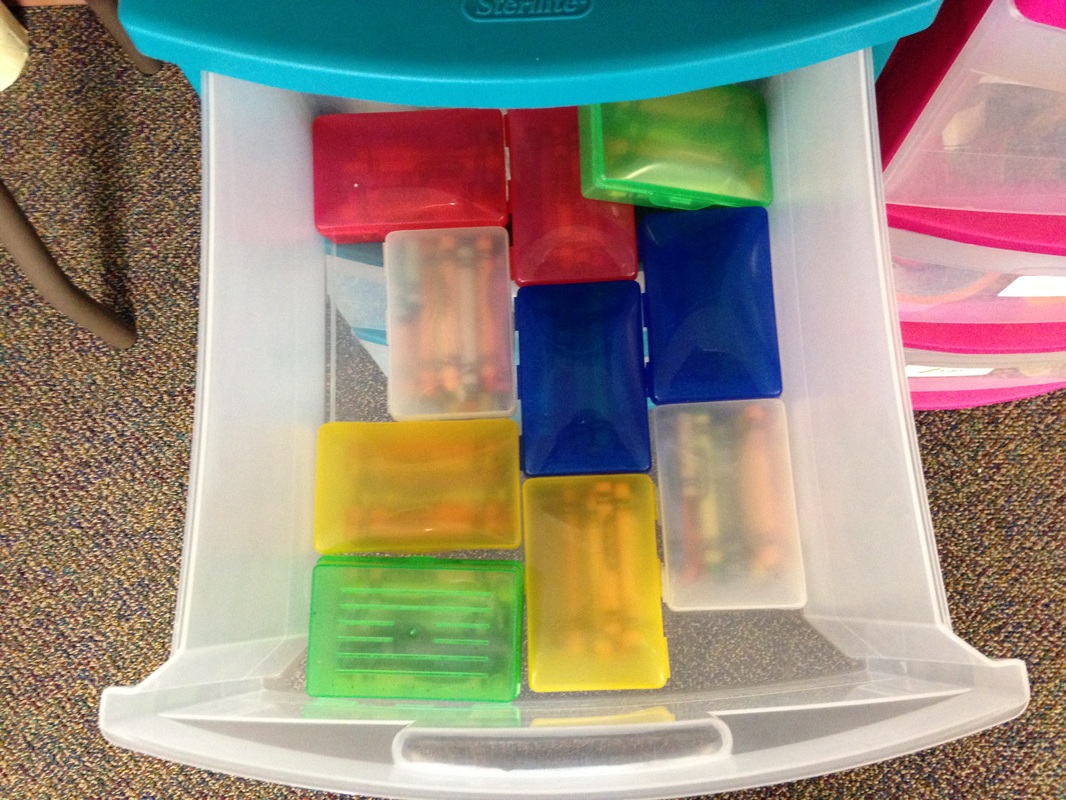
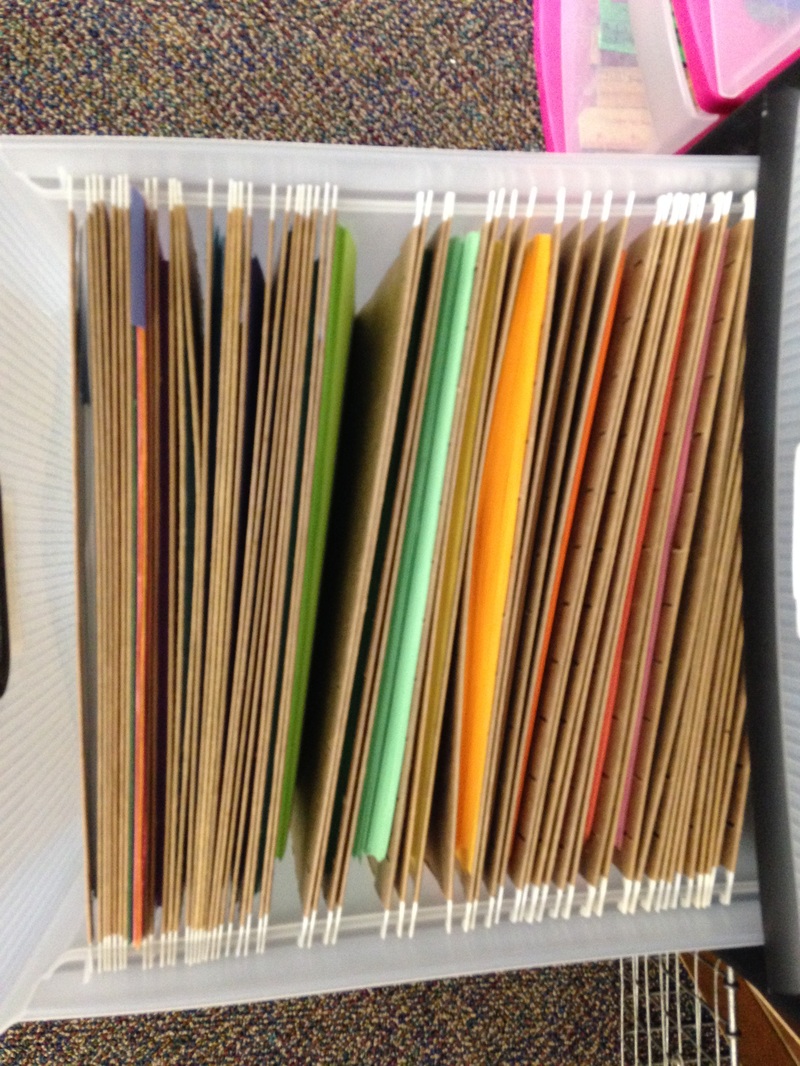
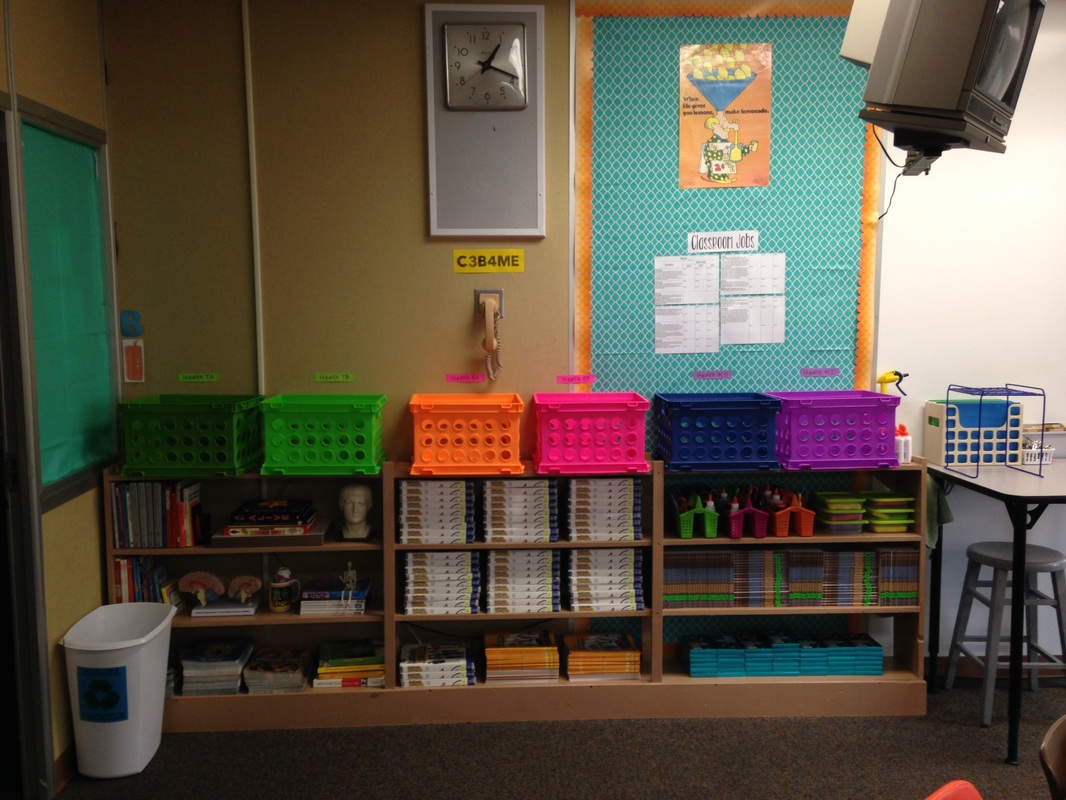
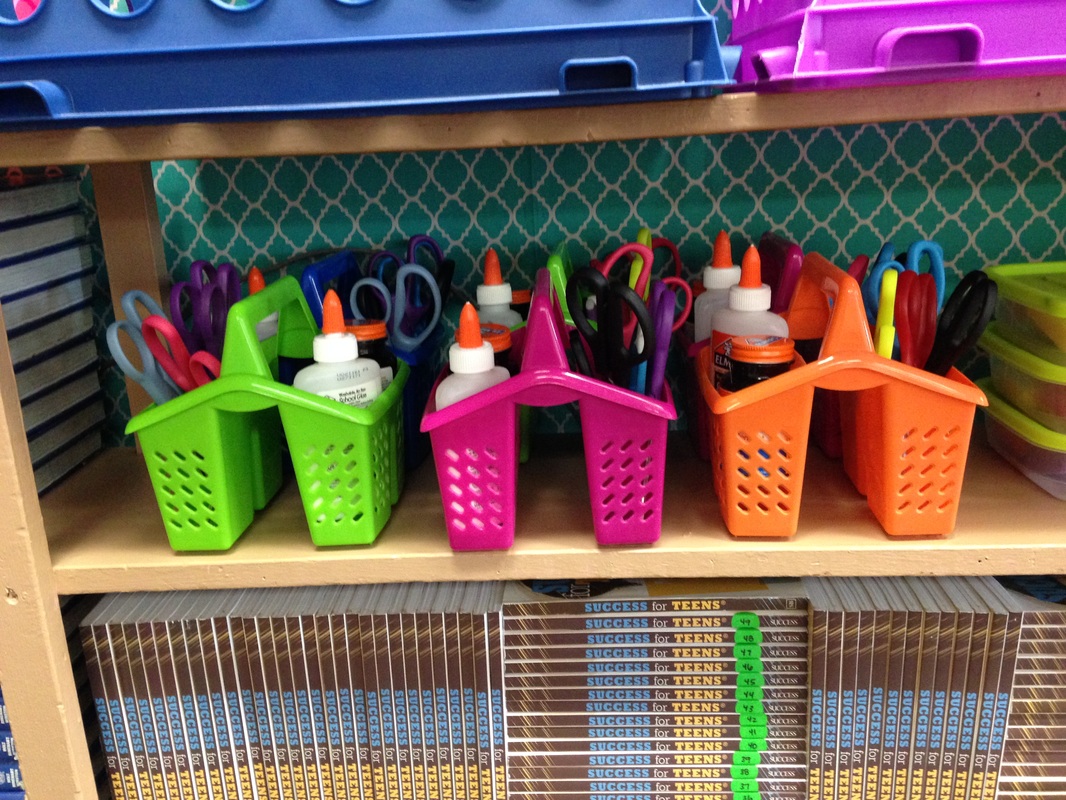
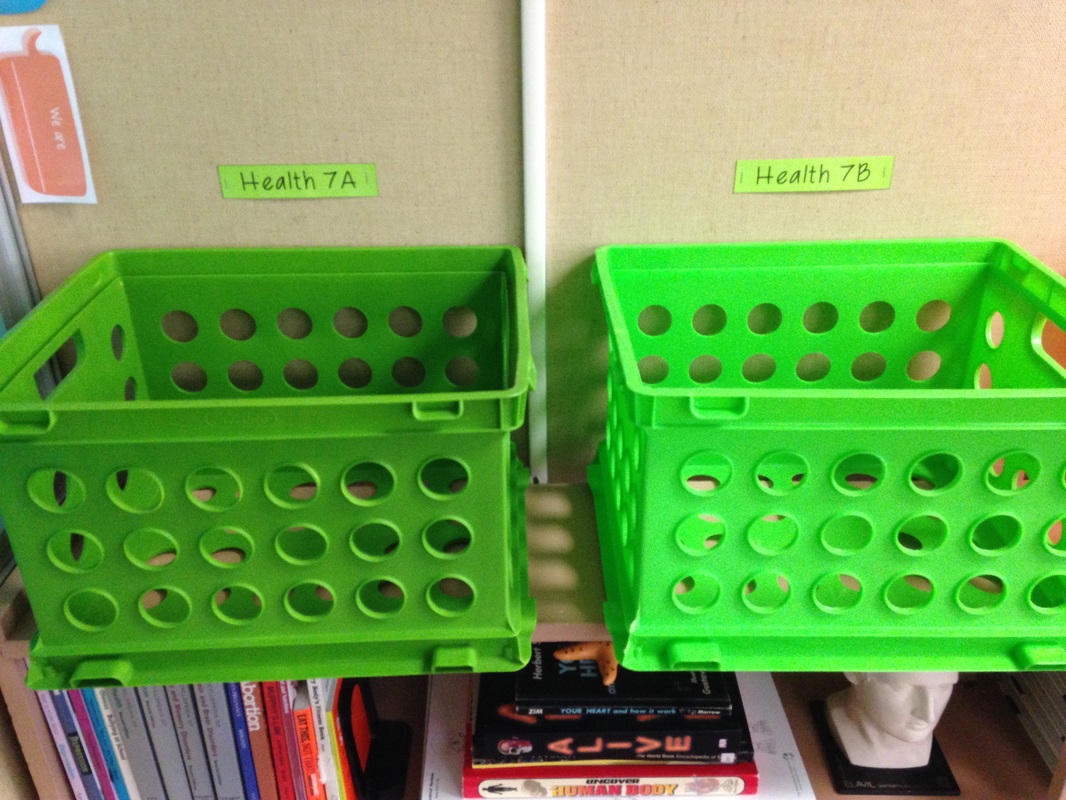
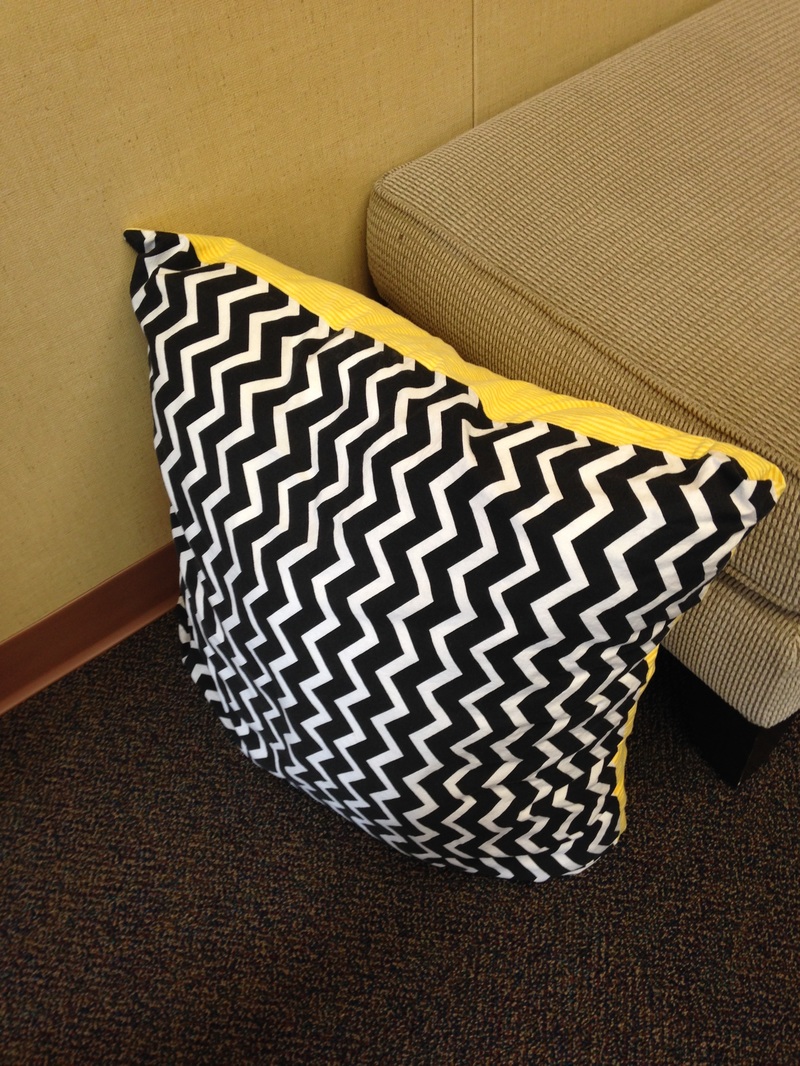
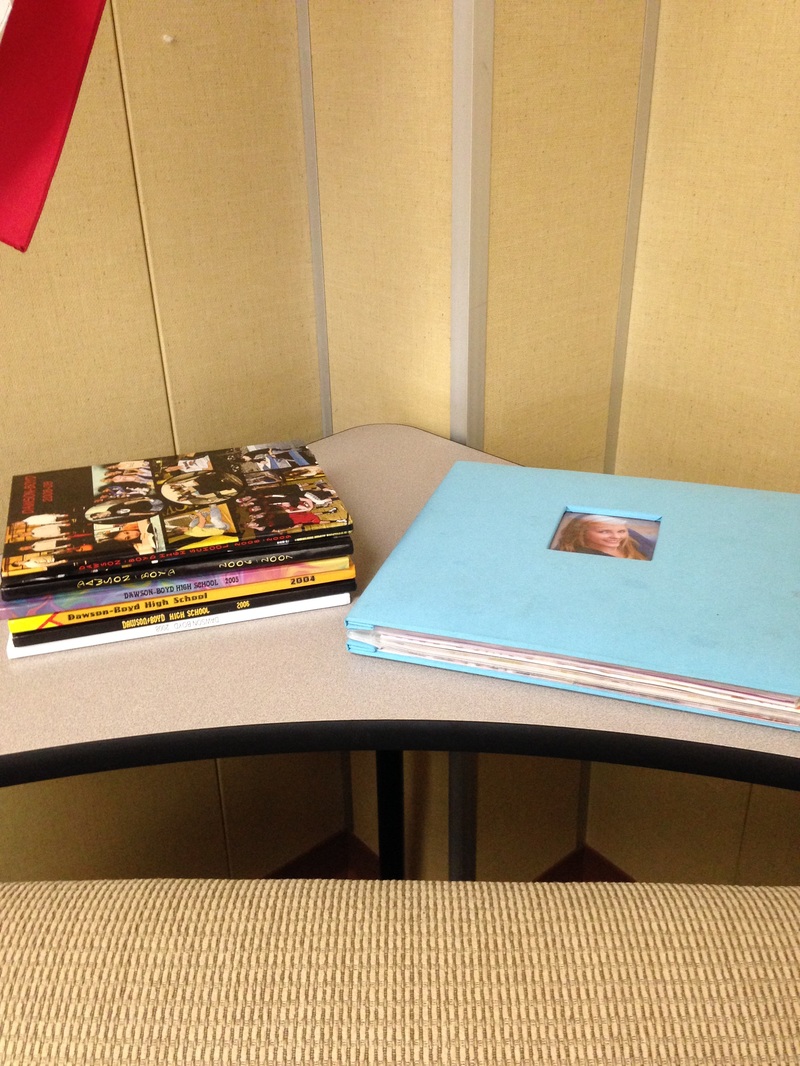
 The school year has officially started & my room is finally together! So I'm going to take you on a little virtual tour & explain how I have my room set up in my new, much smaller space. First is the SC or Student Center. This is where everything that students might need is located. Picture 1 is the whole SC including the Calendar Board. As you can see in picture 2 I have two staplers, a tape dispenser, staple remover and three whole punch on the middle shelf. Above that are buckets. Each of them contains something different including, various size rubber bands, large paperclips, tacks for the calendar board, binder clips, and small paper clips. I have a bunch of different patterned buckets that I use for various things throughout the classroom. I found them in the dollar section at Target so now every time I go to target (which is a lot) I check out the dollar section because they have new patterns all the time. Below I have a basket (I also have a lot of these which I bought at Walmart they come in 3 different sizes) that contains small sticky notes, regular size sticky notes, and note cards. On the SC, as shown in picture 3, I have an electric pencil sharpener, a bucket of highlighters, tissues, lotion, hand sanitizer, and the Extra's binders (I will explain this system & the Calendar Board in another post). I usually also have disinfecting wipes on here, but they haven't come in yet. The janitors provide them which is fantastic. In picture 4 you can see the inside of one of the white drawers. This one has extra pencils, pens, white out, pencil top erasers, and regular erasers that students can use if and when they come to class unprepared. This year I put decorative tape on them so that I know if they are using one of mine or their own. Last year, I went through pencils like crazy because students would take 10 at a time and never return them so when someone needed a pencil I had none left. I was also a little more strict when I explained using the pencil drawer. Hopefully by using both methods I won't go through quite as many pencils. In picture 5 you can see one of the lower drawers, specifically the crayon drawer. The little boxes you see inside are soap boxes (found at Walmart) which contain a handful of different color crayons. It worked really well last year because the boxes held up very well and kept the crayons in good condition. The last picture, picture 6, is of the colored paper drawer from the black colored drawers. Each different color of paper is in a separate hanging file. This great for students because they can see what colors they have to choose from, grab what they need and go. There's no digging through piles of mixed papers. This is also great for myself because it doesn't take up a lot of different space, like having many stacks of different colored paper laid out would, yet I can fit many different colors of paper in this one drawer. If you are interested in where I got the large drawers under the table, I bought the black drawers at Target and the lower pink and blue drawers at Walmart. The smaller white drawers on top of the table I bought at Target. If you look at picture 1 you can see that each of the drawers has a label, shown below (made using PicMonkey), that describes what is inside. The blue drawers contain markers, colored pencils, and crayons; the pink drawers contain scissors, glue, and rulers; and the top two smaller drawers of the black drawers contain scissors and extra notebooks in them.  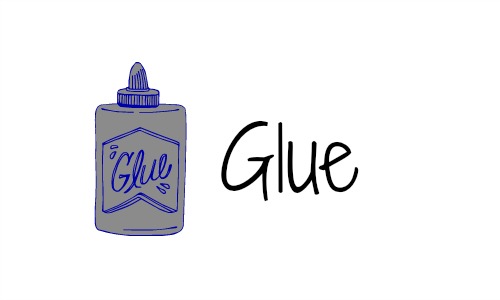     The last few things located in the SC are a few clipboards under the table in a metal basket, yardsticks off to the side, garbage bin, recycling can and bottle bin (paper recycling bin is on the other side of doorway), and located on the wall are the different class schedules (Two-hour late start, pep fest, etc), the master schedule (when other teachers have class), and the sign out board with hall passes. Next we have a few different areas of the room. Picture 1 is of the bookshelf that stores not only the textbooks but also their table bins, glue sponges, and notebook bins. Picture 2 is of the table bins which contain glue & scissors. I have enough bins for each table to have one which saves a lot of time when we need to cut and glue things into our notebooks. Picture 3 is a close up of Health 7's notebook bins. The students keep their notebooks in here so that they don't get lost. Picture 4 is of the cozy or comfy area of the room where students can work during free time. The pillow in picture 5 is another alternative seating option that my Aunts, Grandma, my Mom and I made last year. Picture 6 is of my high school yearbooks and my senior graduation scrapbook for my students to look through when they have free time. They enjoy looking through them, it was something I wish I would have had while student teaching (and at least this way they are getting looked at). 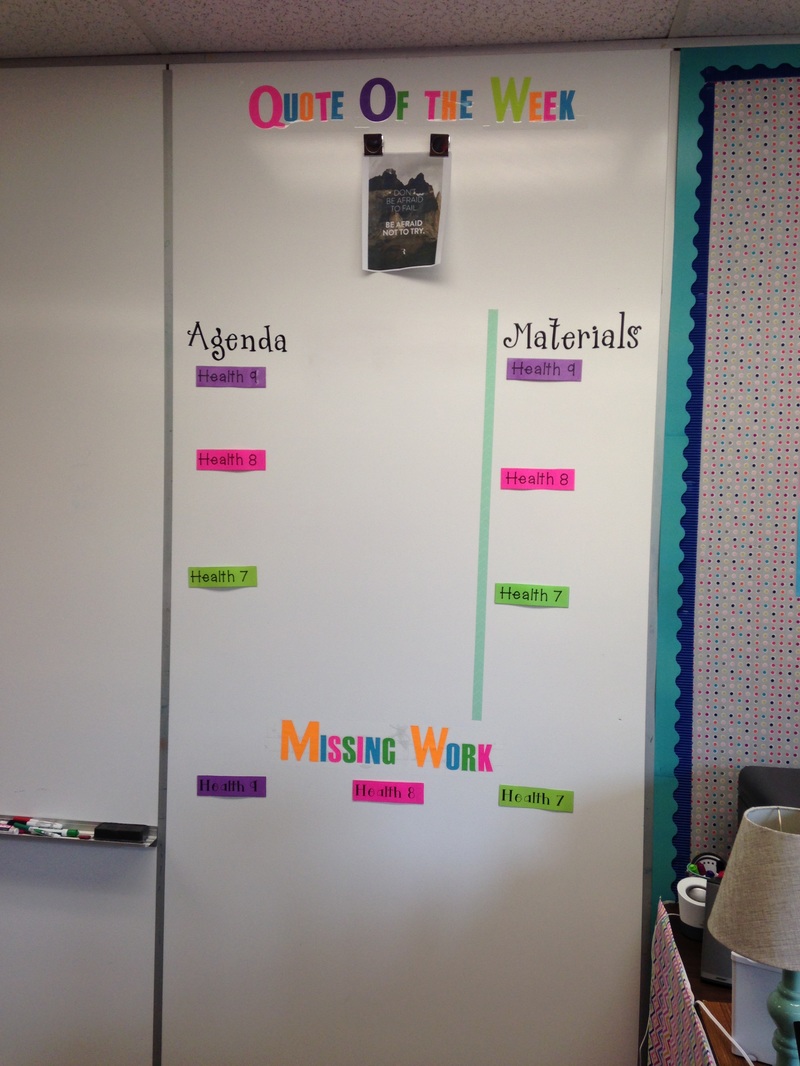 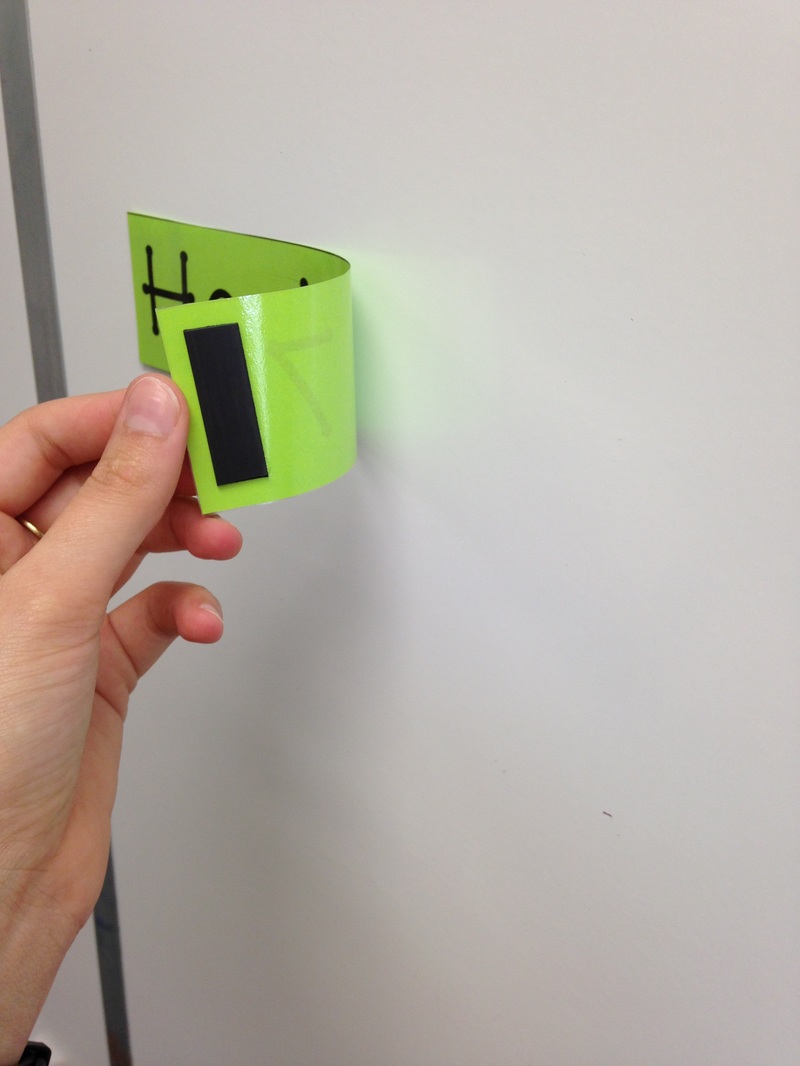 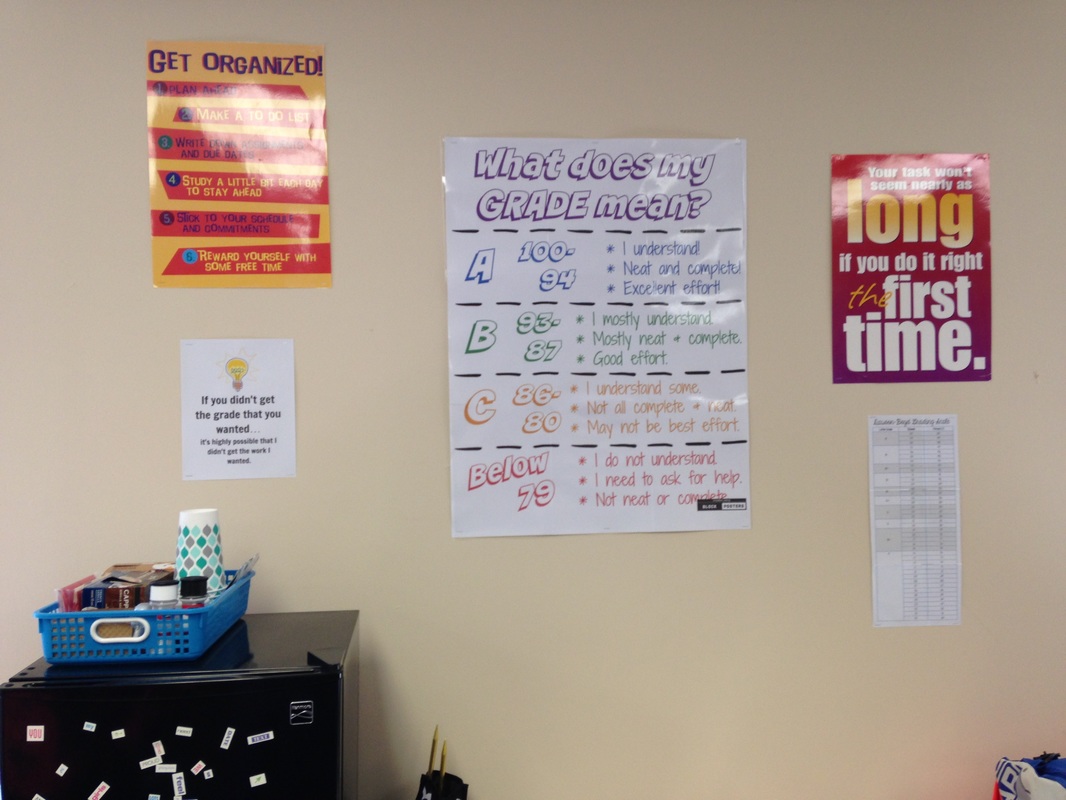 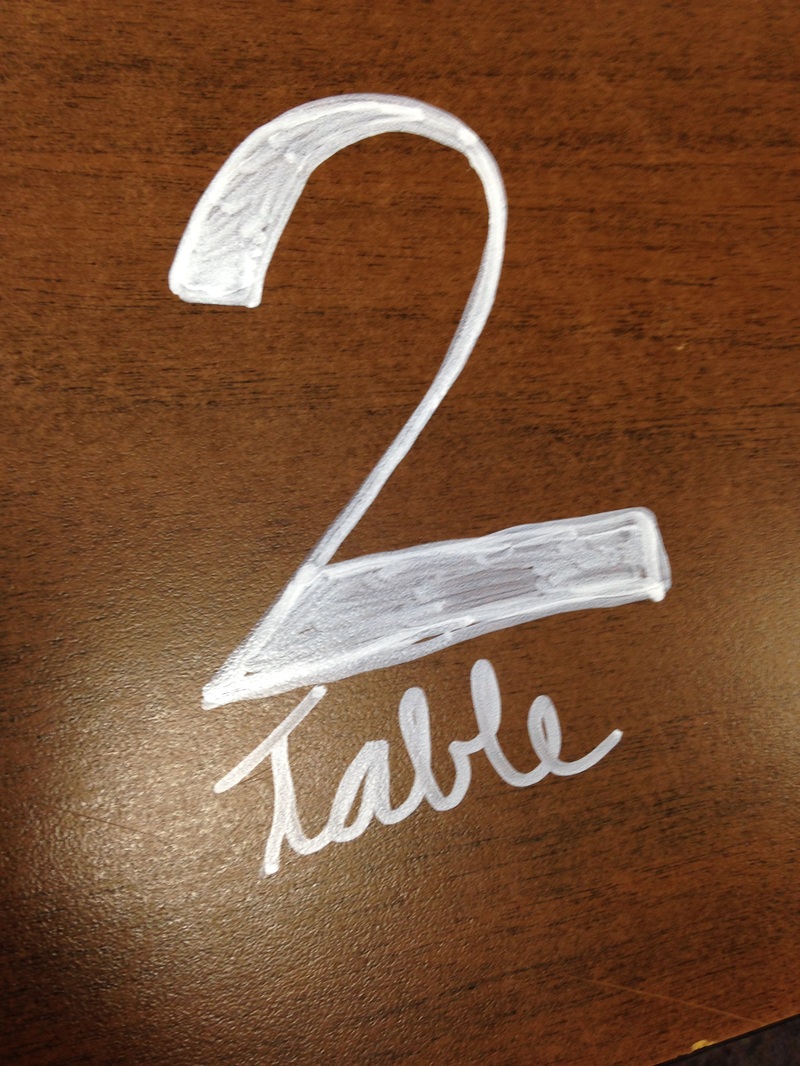 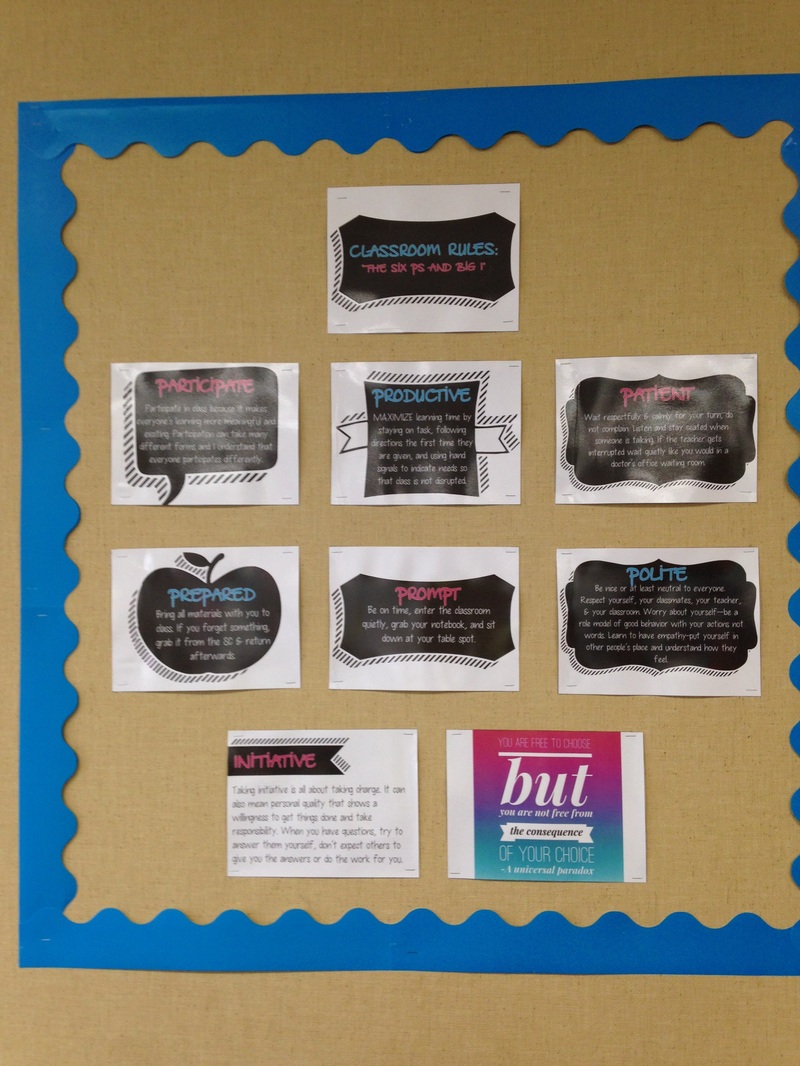 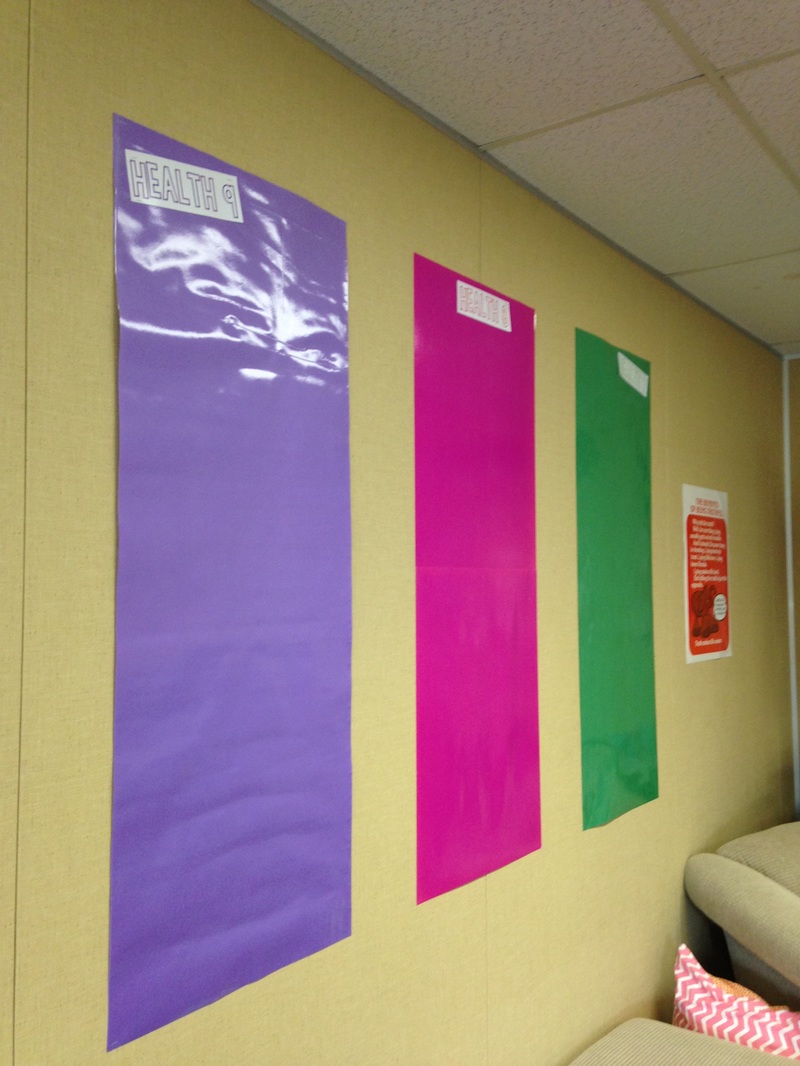 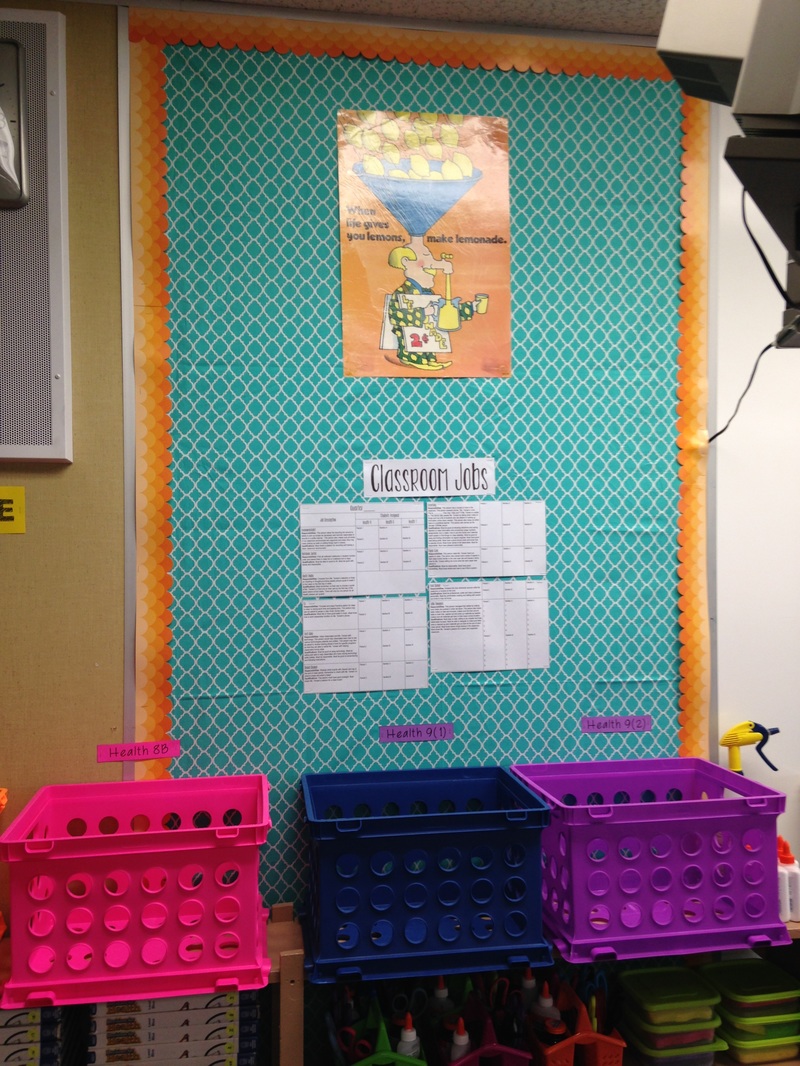 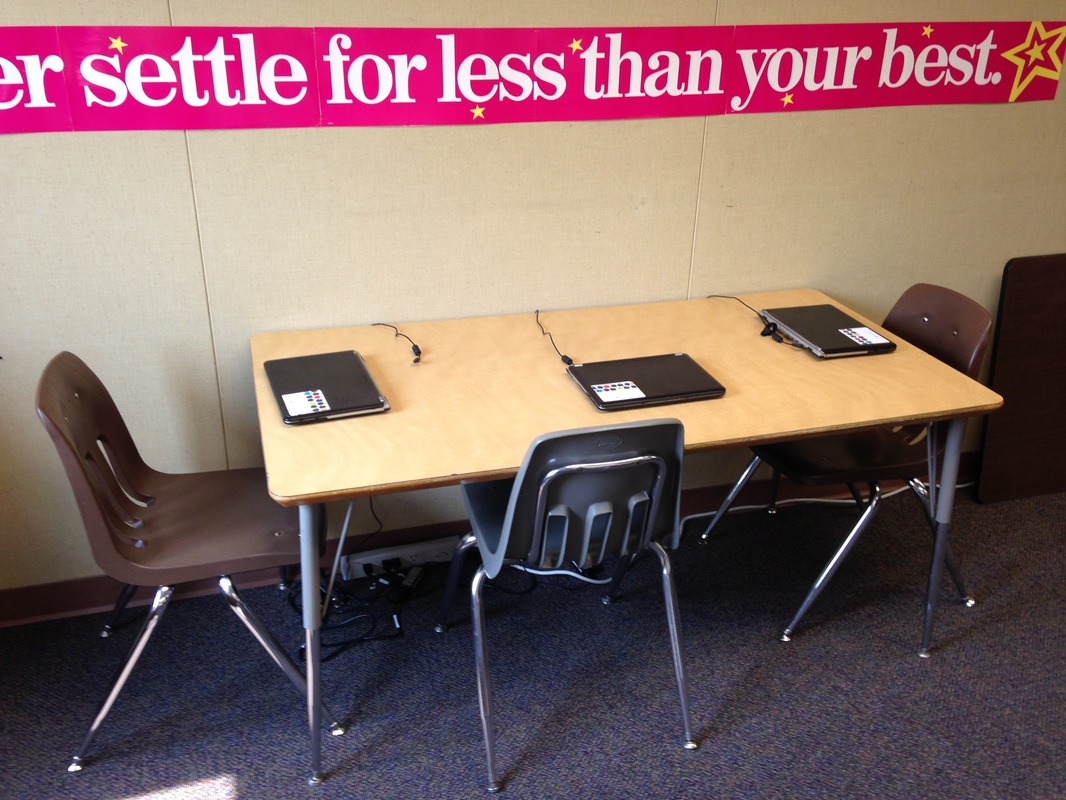 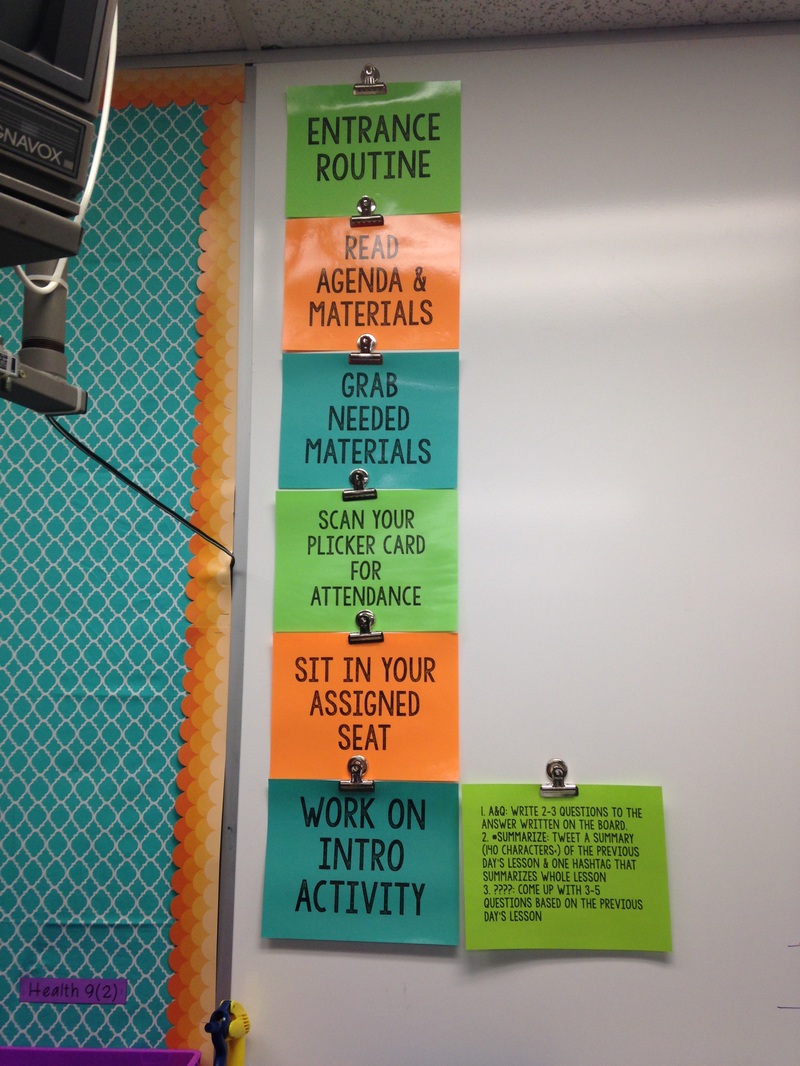 Here some more parts of my room. In picture 1 I have my agenda, materials, missing work and quote of the week board area. This has worked very well so far this year. I often forget to talk to students when they are missing assignments because class goes by so quickly and I only see the 7/8th graders every other day. So this is my way of telling them they are missing work. It teaches them some responsibility and independence as well because it is their responsibility to check it and get the work to me. Picture 2 is of the back of the class tags. Last year I wrote out all the different health classes for the agenda and that got old so this year I typed them up on the class's color paper laminated them and put magnets on the back! Picture 3 is of my grading wall. I made the poster in the middle using PicMonkey and Block Posters. I got the idea from Pinterest. I also have our school's grading scale a few other grade-related posters, and my favorite sassy poster. It says If you didn't get the grade that you wanted...it's highly possible that I didn;t get the work I wanted. I found that idea on Pinterest as well, I just made my own. Picture 4 is of my table numbers. Last year I taped paper on the tables, but the tape kept getting peeled up and when I'd redo them sticky residue would get left on the table which was a pain to get off. So this year I bought oil-based Paint Sharpies and wrote on the tables with it. It can be taken off using Expo markers and stays on when the janitors wash my tables. I found this idea of Pinterest. Picture 5 is of my classroom rules. I've already changed them, but at least this is what they were at the beginning of the year. I just condensed these 7 rules into 4 to make them easier to remember. Picture 6 is of my class spots. This is where I will post the need to know's and other information related to what the class is currently doing in class. Picture 7 is of my other bulletin board with the class job assignment poster. I bought fabric from Jo-Ann Fabrics for the background. Picture 8 is of my Chromebook table. Last year I got a grant to buy these for my classroom instead of getting desktop computers. Students can use these to check their grades, look things up, etc. The Chromebooks stay at this table where their chargers are plugged into a power strip. It has been working very nicely especially in my study hall. Picture 9 is of my entrance routine which I also have already changed. I will post new pictures of both soon! I also have re-done my syllabi so I will get a post about both soon! 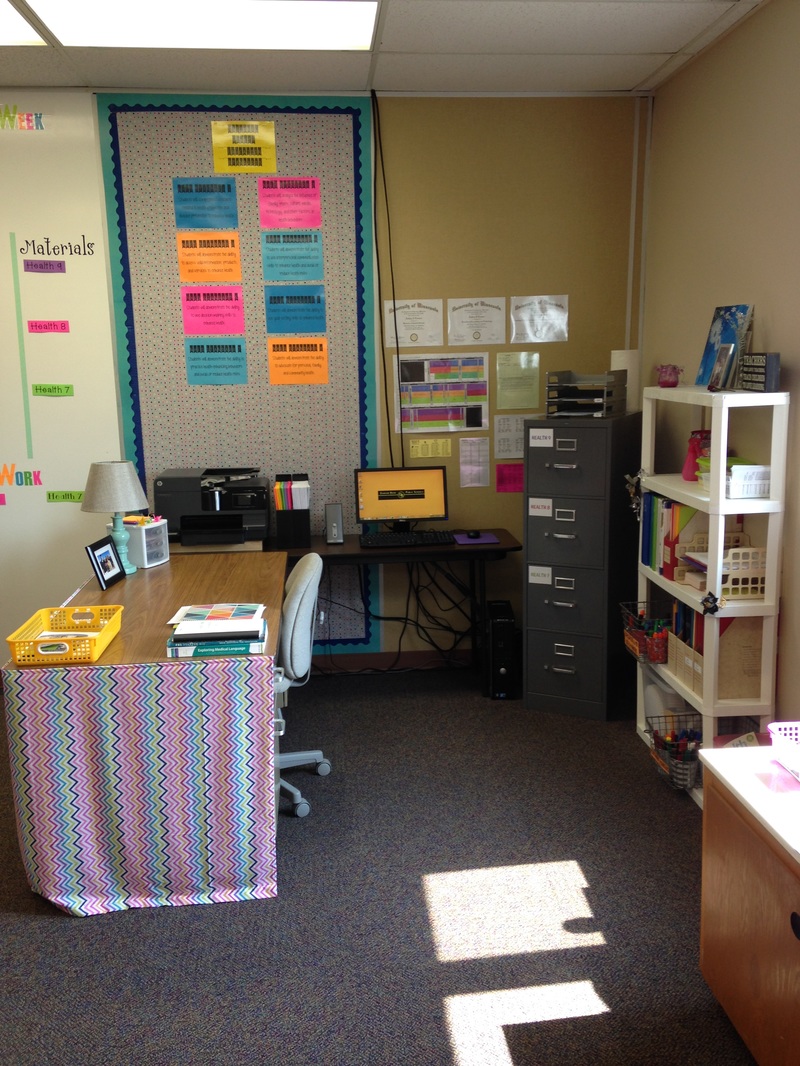 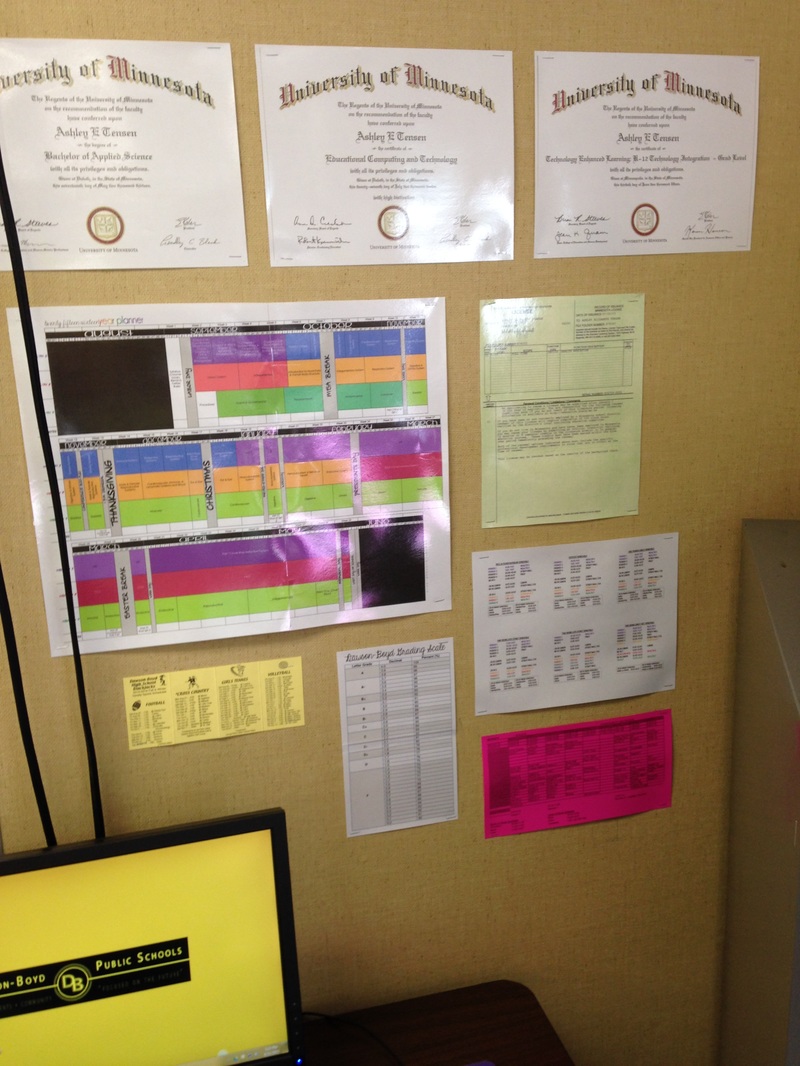 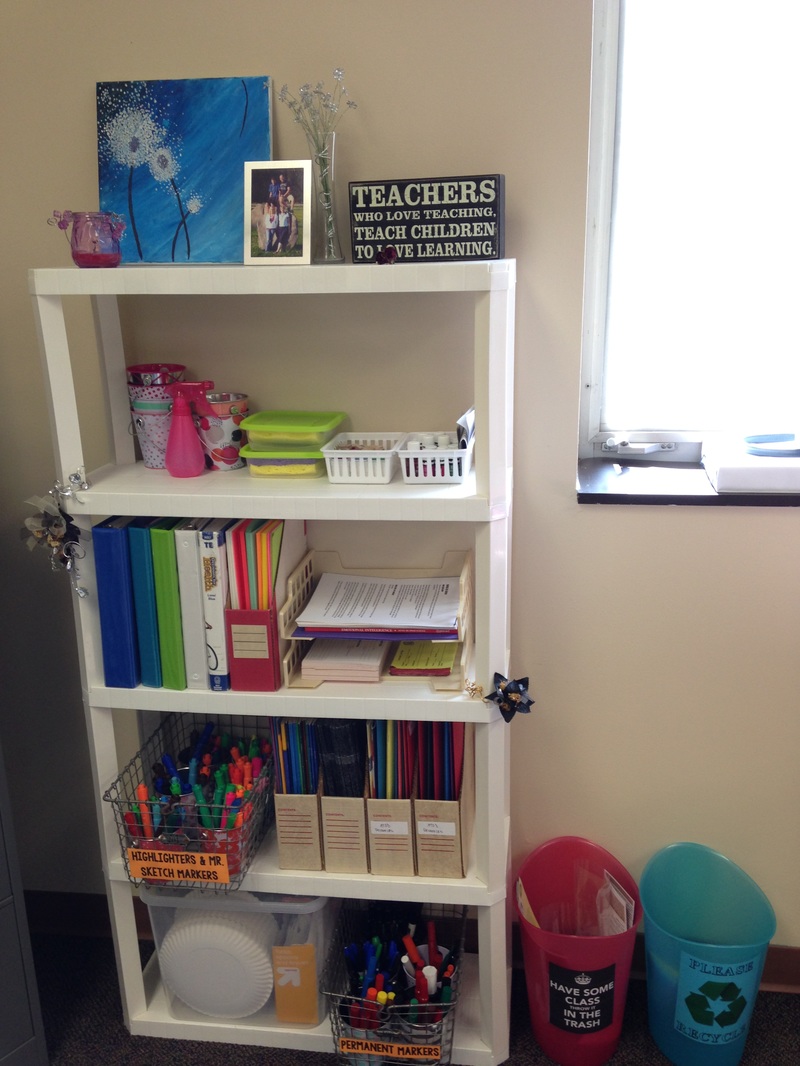 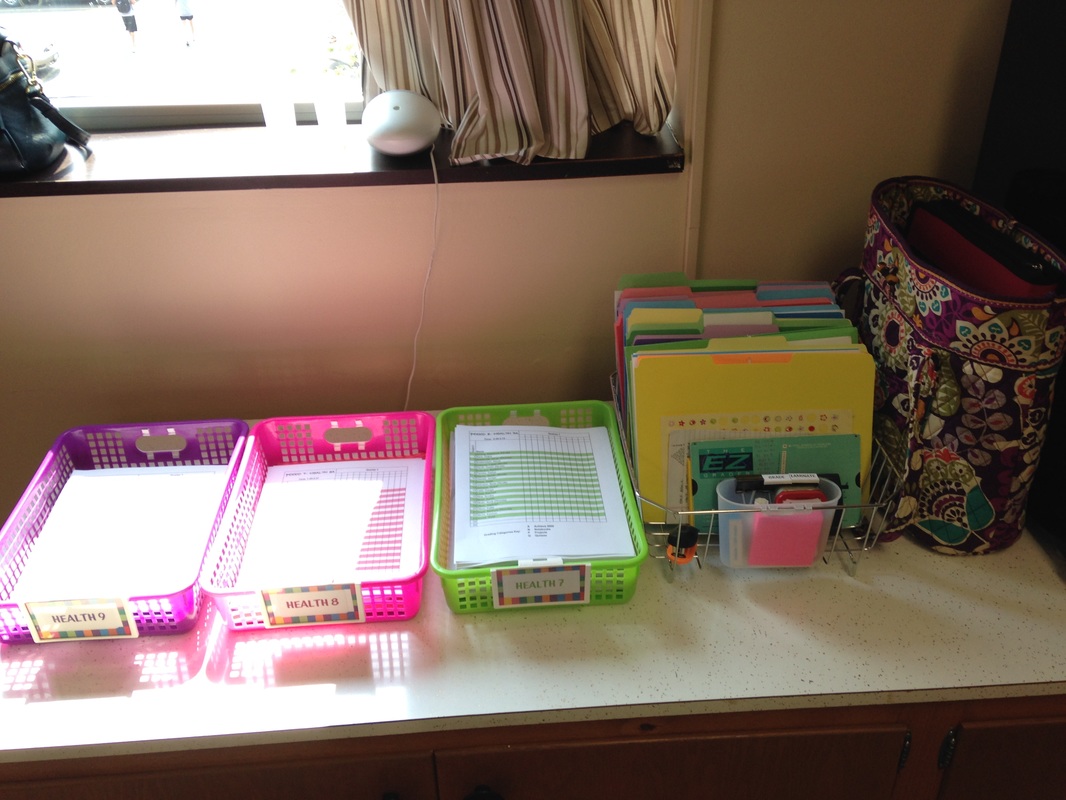 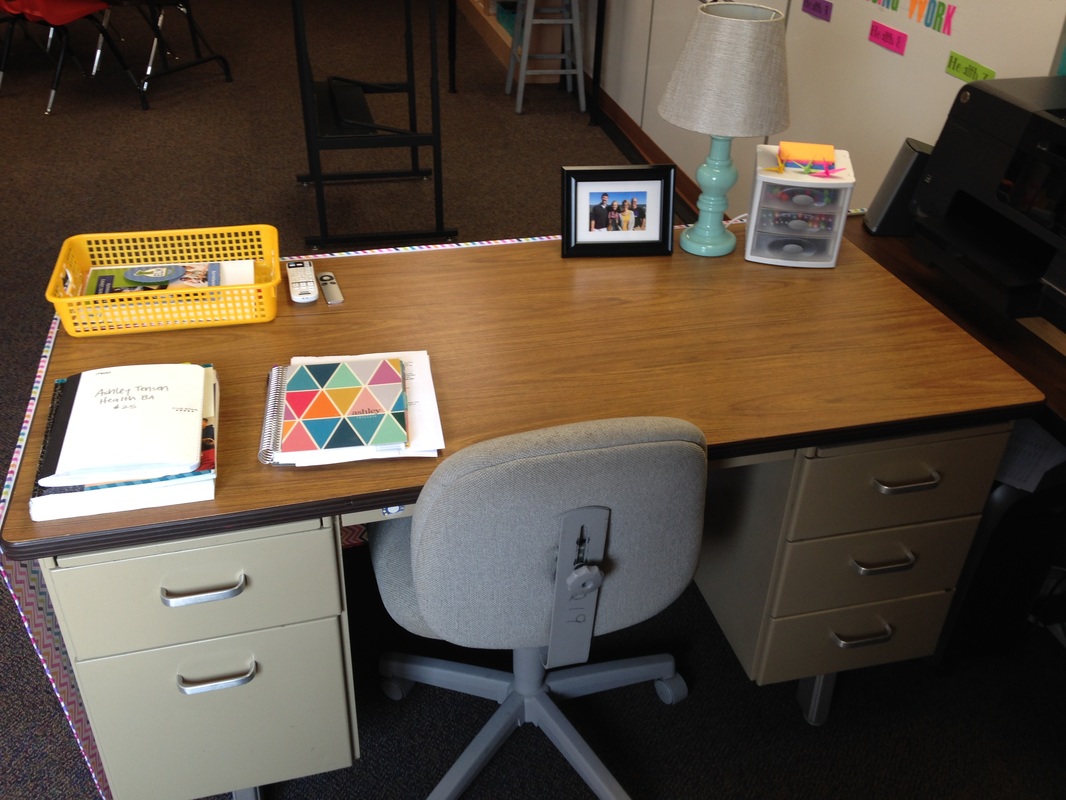 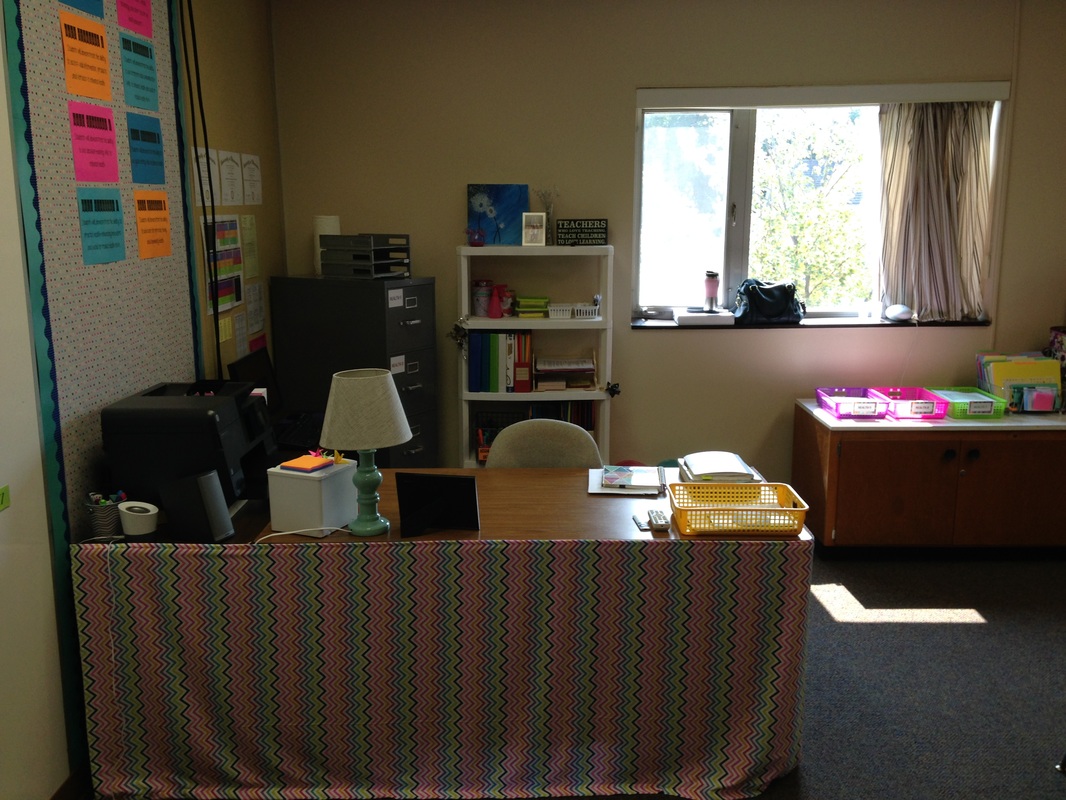  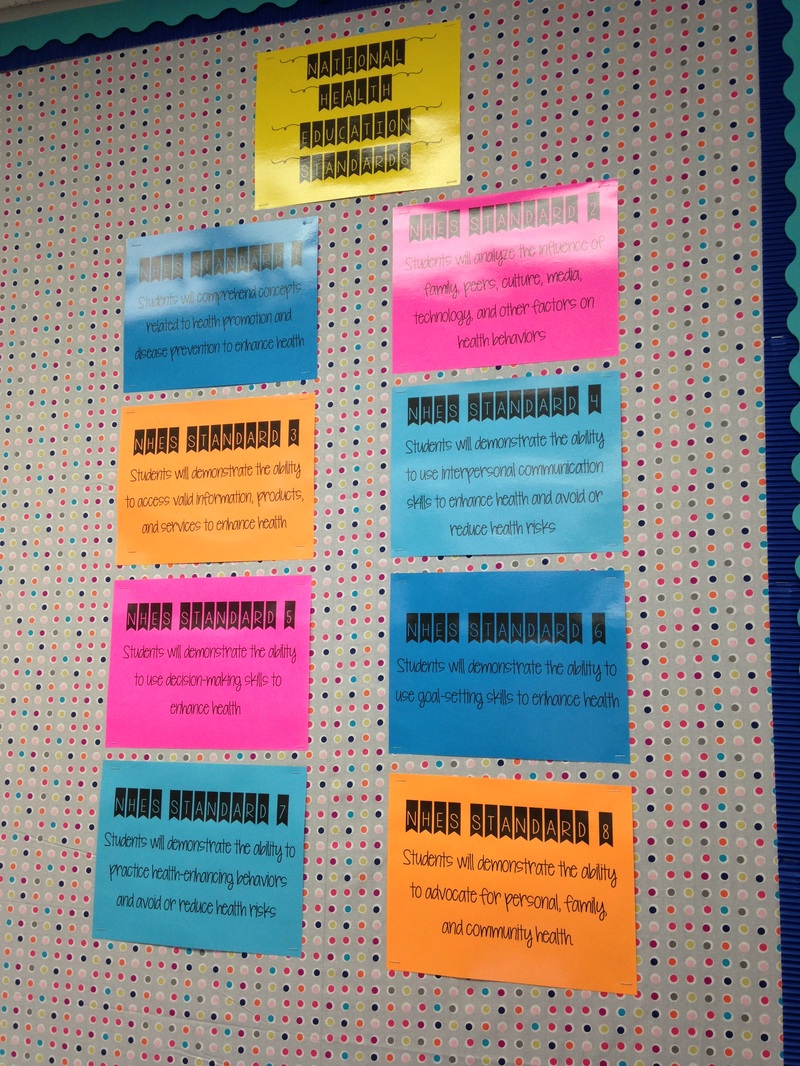 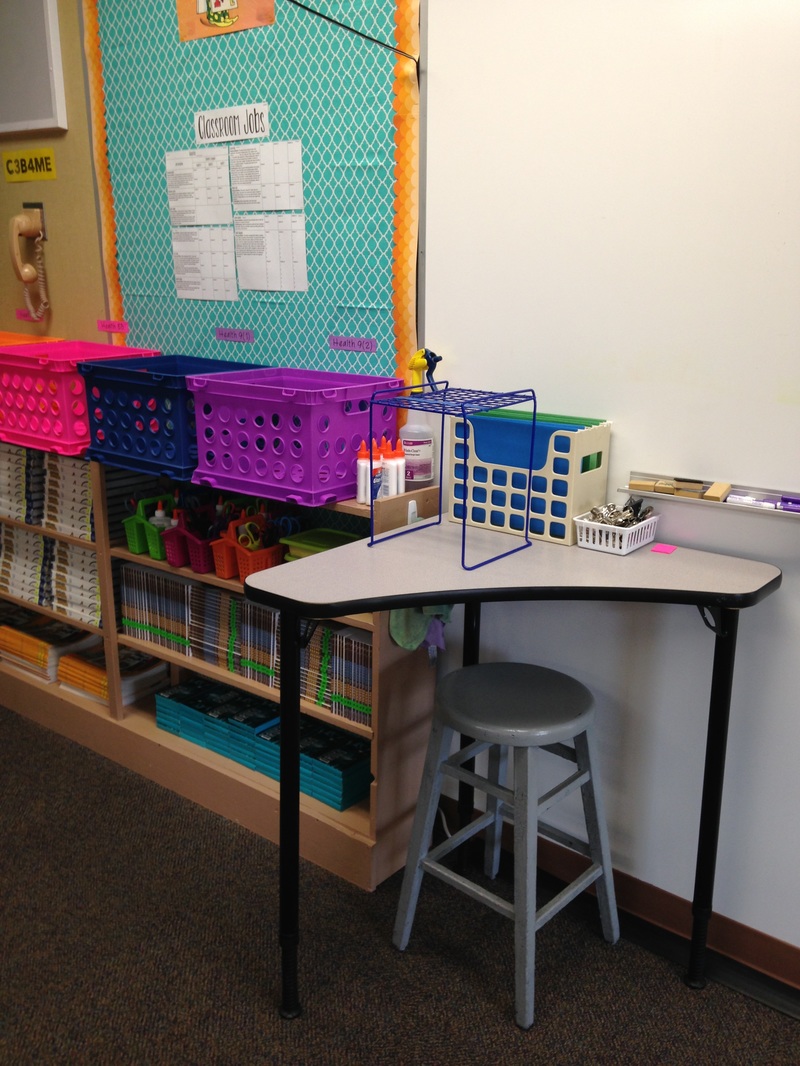 Finally my desk area! I love this area of my classroom. It's so much better of a set up than last year. Picture 1 is of the whole area. This year my filing cabinet is in my desk area which is awesome. Picture 2 is a close up of what I have by my computer. I have my diplomas, teaching license, year plan for all my health classes (I bought this on TPT from Traci Clausen- it also came with weekly planners which I am using to do my lesson planning this year), grading scale, early out/late start schedules, and the master schedule so I know when other teachers have class. I have also added the sports schedules, a bucket of pens, and late slips to this area. It's so nice to have it all right there when I am planning things. Picture 3 is of my bookshelf. I love that I have it right behind my desk as extra storage this year it is a definite help with keeping things organized and off my desk. Picture 4 is of my class baskets and dish rack of file folders. In the dishrack, I keep original copies of sheets I make copies of throughout the year in file folders. In the baskets is where I keep my copy of health notebook for kids to look at if they miss class, as well as the grading sheets and copies of handouts that I make. These are also fitting with the colors. Last year I didn't have different colors for each class and this year it's been so nice to have it set up like that. 9th grade is purple, 8th grade is pink or red and 7th grade is green. My filing cabinet is also color coded this way using colored hanging files/labels on the color by drawer and unit. I did that last year, but I am still in love with it. Picture 5 is of my desk. I don't like having to much on it just the basics so that I can get work done. It doesn't always look like this throughout the day, but it does before I leave. I like coming into a clean classroom in the morning not yesterday's mess. (I will have a post about my end of day and week routine soon). Picture 6 is from the door. The desk skirt was made by my Grandma. We bought the fabric at Jo-Ann's and then sewed velcro on one end and I bought sticky back velcro and attached it to my desk. I really like how it turned out. Last year I used a plastic table cloth and the fabric is holding up much better. Picture 7 is of the inside of one of my drawers. They all pretty much look like this and I love how each drawer is used. Picture 8 is of the Nation Health Education Standards that I created and posted above my desk area. I added my goals for the 2015-16 school year under the standards. Picture 9 is of one of my front tables. I have reorganized this as well so I will post a new picture later. It has worked out really well so far to keeping the things I need while teaching right there at the front. So there you have it! A tour of my new classroom for the 2015-2016 school year. I really like how it all came together especially since I downsized a lot when I moved to this room. I love having windows this year as well as the layout of the room. It's been nice having everything close together in a distinct teacher zone area. Last year my stuff was spread out all over the room because it was so big and it was hard for the students to know what was their space and what was my space. This year everything is in one area for me as well as the students. So needless to say I like having a smaller room. It makes the learning environment feel cozier. That's all for now! Let me know what you think or if you have any questions. Thanks for reading! 
5 Comments
|
Author

I teach 7-9 Health Education & Computer 7 in rural southwestern Minnesota. I love using technology in my classroom and teaching students about how to live healthy and informed lives.
Archives
April 2016
Categories
All
|

 RSS Feed
